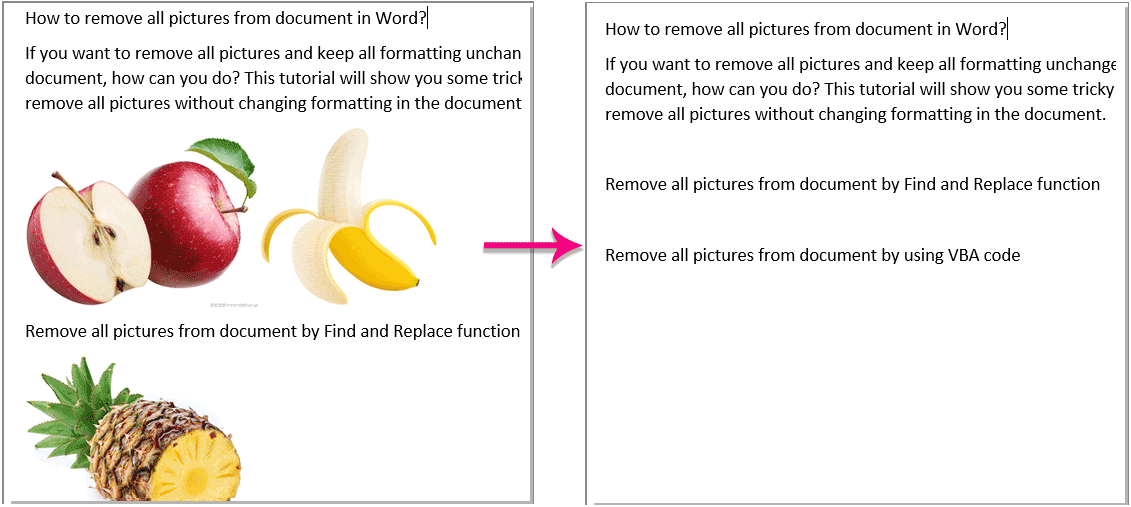
How to remove all pictures from document in Word?
If you want to remove all pictures and keep all formatting unchanged in a document, how can you do? This tutorial will show you some tricky things to remove all pictures without changing formatting in the document.
Remove all pictures from document by Find and Replace function
Remove all pictures from document by using VBA code
Easily remove all pictures from document with Kutools for Word
Remove all pictures from document by Find and Replace function
Find and Replace function provides an easy way for value converting or removing, so you can also use it for removing all pictures from the document.
Step 1: Click Home > Replace to open the Find and Replace window;

Step 2: In the Find and Replace window, click the More button to bring up more Search Options, and then click Special > Graphic, and finally click the Replace All button. See screenshot:

Note: you can also enter ^g into the Find what box directly, keep the replace with box empty and then click the Replace All button to remove all pictures from document;

Now all pictures in current documents are removed immediately as below screenshot shown.
Easily remove all pictures from document with Kutools for Word:
The Remove Pictures utility of Kutools for Word can help you quickly remove all pictures from a selected range or the whole document as you need. See the operation as below screenshot shown. Download and try it now! (60-day free trail)

Remove all pictures from document by using VBA code
Using VBA code is another easier way to remove all pictures from document. You can use a VBA code as follows to remove all pictures from document.
Step 1: Press the Alt + F11 keys to open the Microsoft Visual Basic for Application window;
Step 2: Click Insert > Module, copy and paste the following VBA code into the Module window;
Step 3: Click the Run button to apply the VBA.
VBA code: Remove all pictures from document:
Sub DitchPictures()
Dim objPic As InlineShape
For Each objPic In ActiveDocument.InlineShapes
objPic.Delete
Next objPic
End Sub
Now all pictures in current documents are removed immediately as below screenshot shown.
Remove all pictures from document with Kutools for Word
Kutools for Word provides the most convenient way to remove all pictures from the document. It can remove all pictures from the whole document or all pictures from the selected part of the document.
Kutools for Word : with more than 100 handy Word add-ins, free to try with no limitation in 60 days.
Remove pictures from a range:
1. Please select the range contains the pictures you want to remove, and then apply this utility by clicking Kutools > More > Remove Pictures to remove them at once. See screenshot:

Remove pictures from the whole document:
1. Just enable the utility by clicking Kutools > More > Remove Pictures without selecting any part of the document. Then a Kutools for Word dialog box is popping up to remind you the removing of all pictures. Click Yes to start the removing.

Now all pictures in current documents are removed immediately as below screenshot shown.
If you want to have a free trial of this utility, please go to free download the software first, and then go to apply the operation according above steps.
Best Office Productivity Tools
Kutools for Word - Elevate Your Word Experience with Over 100 Remarkable Features!
🤖 Kutools AI Assistant: Transform your writing with AI - Generate Content / Rewrite Text / Summarize Documents / Inquire for Information based on Document, all within Word
📘 Document Mastery: Split Pages / Merge Documents / Export Selection in Various Formats (PDF/TXT/DOC/HTML...) / Batch Convert to PDF / Export Pages as Images / Print Multiple Files at once...
✏ Contents Editing: Batch Find and Replace across Multiple Files / Resize All Pictures / Transpose Table Rows and Columns / Convert Table to Text...
🧹 Effortless Clean: Sweap away Extra Spaces / Section Breaks / All Headers / Text Boxes / Hyperlinks / For more removing tools, head to our Remove Group...
➕ Creative Inserts: Insert Thousand Separators / Check Boxes / Radio Buttons / QR Code / Barcode / Diagonal Line Table / Equation Caption / Image Caption / Table Caption / Multiple Pictures / Discover more in the Insert Group...
🔍 Precision Selections: Pinpoint specific pages / tables / shapes / heading paragraphs / Enhance navigation with more Select features...
⭐ Star Enhancements: Navigate swiftly to any location / auto-insert repetitive text / seamlessly toggle between document windows / 11 Conversion Tools...
