How to Add a Citation in Word: A Step-by-Step Guide
Microsoft Word is not only a powerful tool for document creation but also an invaluable ally for students and professionals who need to manage citations and bibliographies efficiently. Whether you are writing an academic paper or compiling a detailed report, properly citing sources is crucial. This guide provides clear, step-by-step instructions on how to manage citations in Word, including how to add new sources, use existing ones, insert placeholders, edit sources, and finally, compile a comprehensive bibliography.
Add a Citation for a New Source in Word
Adding citations from new sources in Microsoft Word is essential for supporting your arguments and maintaining academic integrity. The References tab in Word simplifies this process, allowing you to input and store source details efficiently. Here’s how you can add a new citation:
Step 1: Select a citation style
Open your document in Word, navigate to the References tab, click the arrow next to Style, and choose your desired citation style from the drop-down menu in the Citations & Bibliography group.
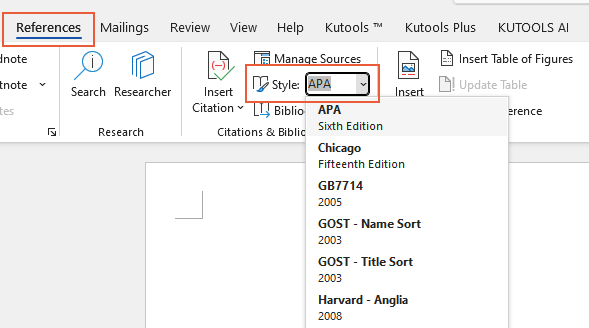
Tip: For example, documents in the social sciences typically use MLA or APA styles for citations and referencing.
Step 2: Add a new source
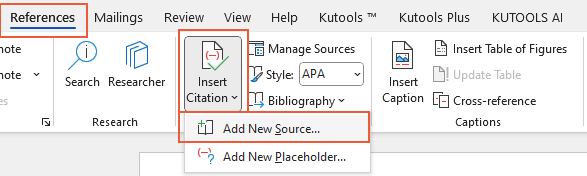
- Click at the end of the sentence or phrase that you want to cite.
- Still on the Reference tab, click Insert Citation > Add New Source.

Step 3: Fill in the source information
- In the Create Source dialog box, select the Type of source (e.g., book, journal article, website) from the dropdown menu at the top of the dialog box.
- Fill in the necessary fields such as author, title, year, publisher, etc.
- Click OK.
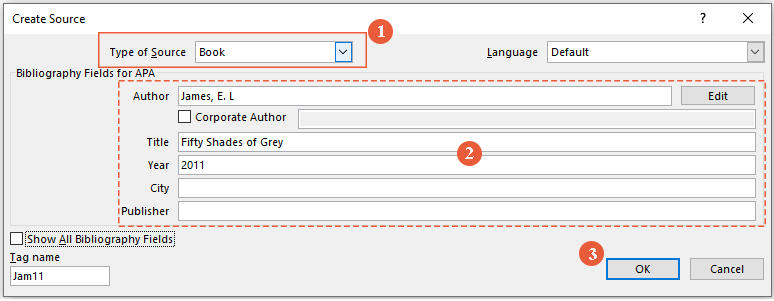
Tip: To include additional details about a source, select the "Show All Bibliography Fields" checkbox.

Result
The citation is now inserted into your document at the location of your cursor.
🌟 AI Assistant for Word: Rewrite, Compose, and Summarize 🌟
Save time and effort with Kutools for Word's AI Assistant feature! 🚀


📊 Kutools for Word: Chosen by over 18,000 users. Enjoy a full-featured FREE trial with no credit card required! 🚀
Add a Citation for an Existing Source in Word
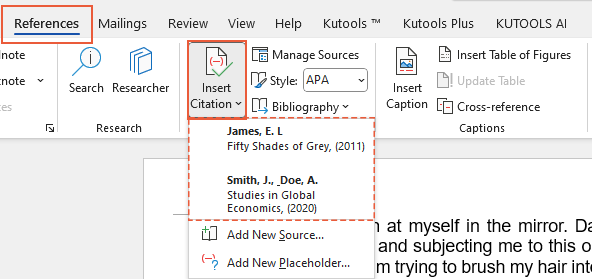
Reusing sources within your document? Word makes it easy to cite an existing source multiple times, ensuring consistency and saving time. Here's a quick guide to adding a citation from previously used sources:
- Place your cursor where the citation is needed.
- Go to the Reference tab and click Insert Citation. You can see all previously entered sources will be listed in the drop-down menu.
- Select the one you wish to cite from the menu.
Result
You can see the citation is added to the current location in your document.
Insert a Citation Placeholder for Future Usage in Word
If you need to insert citations but lack complete source details, Word's placeholder feature is invaluable. This allows you to keep drafting without interruption and come back to finalize citations later. Follow these steps to insert a placeholder:
Step 1: Select a citation style
Open your document in Word, navigate to the References tab, click the arrow next to Style, and choose your desired citation style from the drop-down menu in the Citations & Bibliography group.
Tip: For example, documents in the social sciences typically use MLA or APA styles for citations and referencing.
Step 2: Add a new placeholder
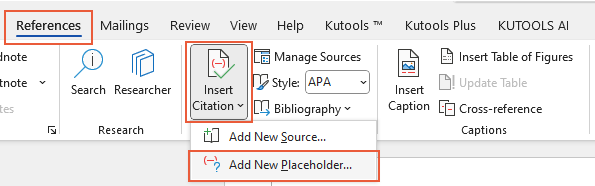
- Click at the end of the sentence or phrase that you want to cite.
- Still on the Reference tab, click Insert Citation > Add New Placeholder.
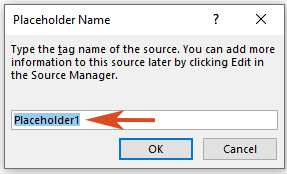
- In the Placeholder Name dialog box, type the name of the placeholder in the textbox. Click OK.
Result
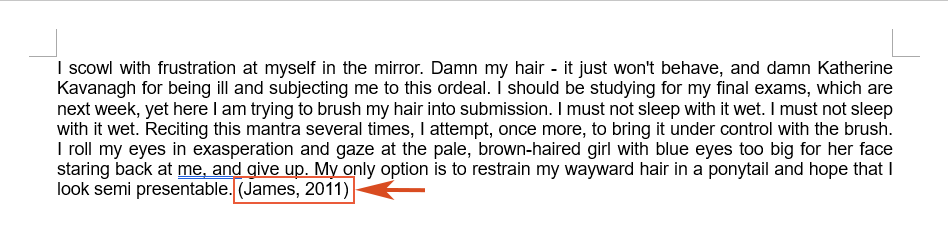
Now the placeholder is successfully at the place you want to cite.

Edit a Source in Word
Need to update source information? Word allows you to edit source details easily, which automatically updates all associated citations throughout your document. Here’s how you can edit a source:
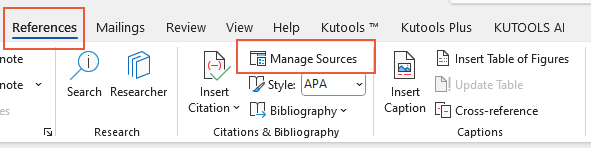
Step 1: Access Manage Sources
Go to the References tab, in the Citations & Bibliography group, click Manage Sources.
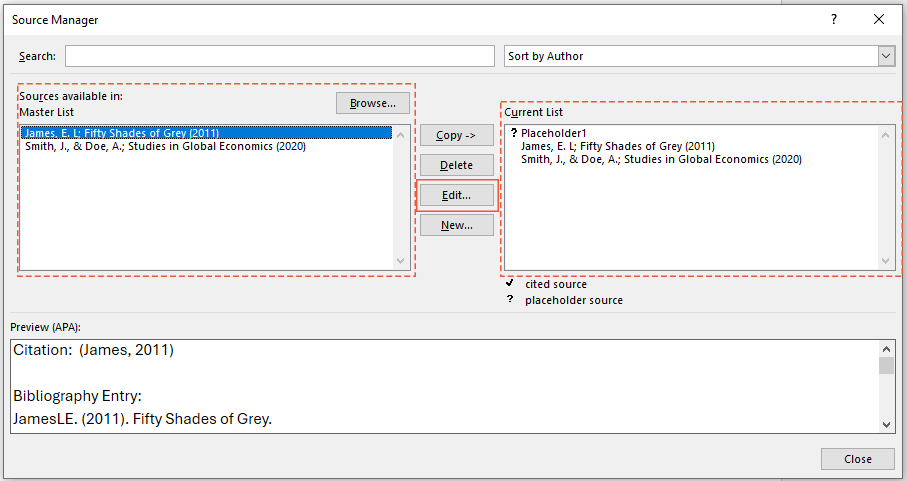
Step 2: Select the existing source or a placeholder source to edit
In the Source Manager dialog box, please do as follows:
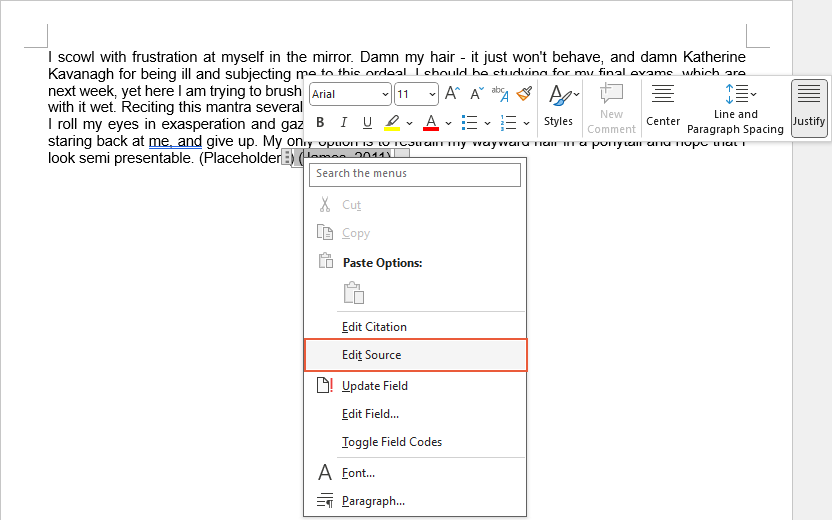
- To edit the existing source, select the existing source you want to edit under Master List or Current List, then click Edit.
- To edit a placeholder to add citation information, select the placeholder from Current List and click Edit.
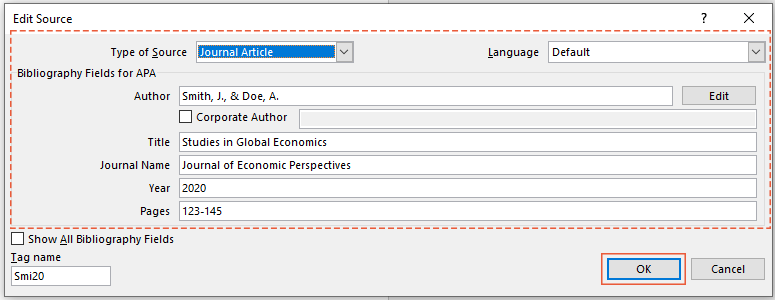
Step 3: Edit the source details and save Changes
- In the Edit Source dialog box, make the changes you want and click OK.
- Close the Source Manager dialog as needed.
Add a Bibliography in Word
Compiling a bibliography is the final step in managing citations. Word automates this process, generating a formatted bibliography from your cited sources. Here’s how to add a bibliography efficiently:
- Position your cursor in the document where you want the bibliography to appear, usually at the end of the document.
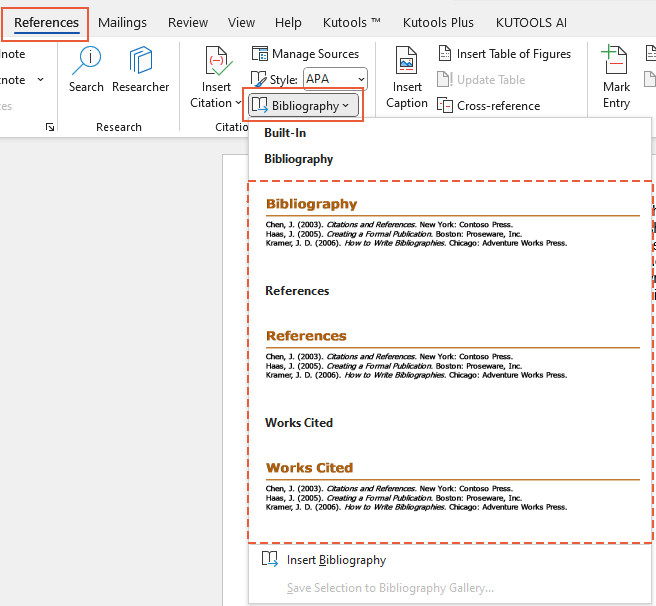
- Go to the References tab and Click Bibliography. This will display a gallery with various bibliography styles, each with different titles.
- Select one of the styles from the gallery.

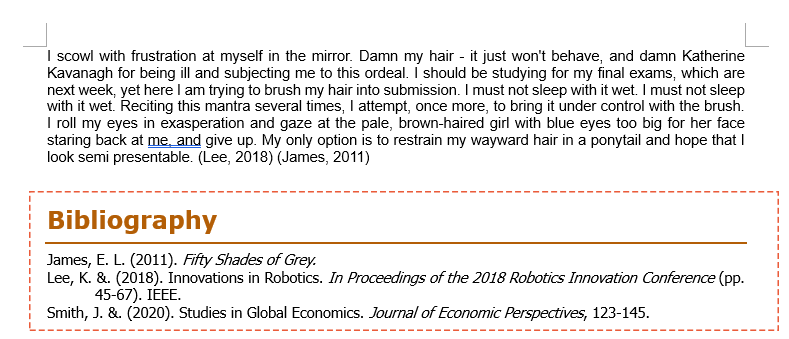
Result
Word will automatically generate a bibliography based on the citations in your document.
By following these steps, you can efficiently manage citations and bibliographies in Microsoft Word, ensuring that your documents are well-organized and professionally formatted. Whether you’re a student, researcher, or professional, mastering these tools within Word will enhance your writing process and help maintain the integrity of your work. For more Word tips and tricks, please click here to access our extensive collection of hundreds of tutorials.
Related articles
How to Add the Degree (°) Symbol in Word (Windows & Mac)
This guide will walk you through different techniques for inserting the degree symbol in Word on both Windows and Mac.
How to Add Page Numbers in Word: A Step-by-Step Guide
This guide will walk you through the process of adding, formatting, and removing page numbers in Microsoft Word.
How to Show and Use the Ruler in Word (Full Guide)
In this comprehensive guide, we'll walk you through everything you need to know about showing and using the ruler in Word.
Best Office Productivity Tools
Kutools for Word - Elevate Your Word Experience
🤖 Kutools AI Features: AI Assistant / Real-Time Assistant / Super Polish (Preserve Format) / Super Translate (Preserve Format) / AI Redaction / AI Proofread...
📘 Document Mastery: Split Pages / Merge Documents / Export Selection in Various Formats (PDF/TXT/DOC/HTML...) / Batch Convert to PDF...
✏ Contents Editing: Batch Find and Replace across Multiple Files / Resize All Pictures / Transpose Table Rows and Columns / Convert Table to Text...
🧹 Effortless Clean: Sweap away Extra Spaces / Section Breaks / Text Boxes / Hyperlinks / For more removing tools, head to the Remove group...
➕ Creative Inserts: Insert Thousand Separators / Check Boxes / Radio Buttons / QR Code / Barcode / Multiple Pictures / Discover more in the Insert group...
🔍 Precision Selections: Pinpoint Specific Pages / Tables / Shapes / Heading Paragraphs / Enhance navigation with more Select features...
⭐ Star Enhancements: Navigate to Any Location / Auto-Insert Repetitive Text / Toggle Between Document Windows / 11 Conversion Tools...
🌍 Supports 40+ Languages: Use Kutools in your preferred language – supports English, Spanish, German, French, Chinese, and 40+ others!

Office Tab - Tabs for Office, Power for You
- Enable tabbed editing and reading in Word, Excel, PowerPoint, Publisher, Access, Visio and Project.
- Open and create multiple documents in new tabs of the same window, rather than in new windows.
- Increases your productivity by 50%, and reduces hundreds of mouse clicks for you every day!

✨ Kutools for Office – One Installation, Five Powerful Tools!
Includes Office Tab Pro · Kutools for Excel · Kutools for Outlook · Kutools for Word · Kutools for PowerPoint
📦 Get all 5 tools in one suite | 🔗 Seamless integration with Microsoft Office | ⚡ Save time and boost productivity instantly
Best Office Productivity Tools
Kutools for Word - 100+ Tools for Word
- 🤖 Kutools AI Features: AI Assistant / Real-Time Assistant / Super Polish / Super Translate / AI Redaction / AI Proofread
- 📘 Document Mastery: Split Pages / Merge Documents / Batch Convert to PDF
- ✏ Contents Editing: Batch Find and Replace / Resize All Pictures
- 🧹 Effortless Clean: Remove Extra Spaces / Remove Section Breaks
- ➕ Creative Inserts: Insert Thousand Separators / Insert Check Boxes / Create QR Codes
- 🌍 Supports 40+ Languages: Kutools speaks your language – 40+ languages supported!