Page Color & Background
By default, the area of message content displays as a white board when we compose new messages, or reply/forward emails in Outlook. Now, this article shows the tutorials about adding background color or background image in the message body in the new composing, replying, or forwarding message windows.
Table of Content
- 1. Add solid background color to an email
- 2. Add background image to an email
- 3. Add gradient background color to an email
- 4. Add background texture to an email
- 5. Add background pattern to an email
- 6. Remove background color/image/texture/pattern from an email
- 7. Switch Black mode to Outlook
- 8. Add background image for Outlook Ribbon
Note: Methods introduced on this page apply to Microsoft Outlook 2019 desktop program in Windows 10. And the instructions may vary significantly or slightly depending on the version of Microsoft Outlook and the Windows environments.
1. Add solid background color to an email
You can easily add a solid background color for a new composing, replying, or forwarding email in Outlook as follows.
In the new composing/replying/forwarding message window, click Options > Page Color, and then pick up a page color from the drop-down menu.
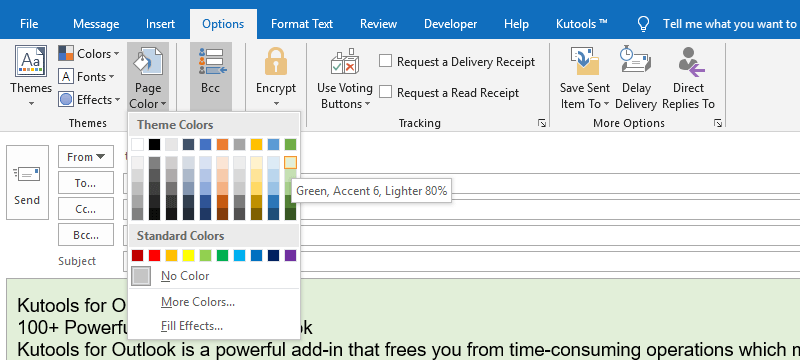
And the specified color is added as background color as soon as quickly.
Tips:
1. If the Page Color feature is gray, please click on the area of message content to activate it.
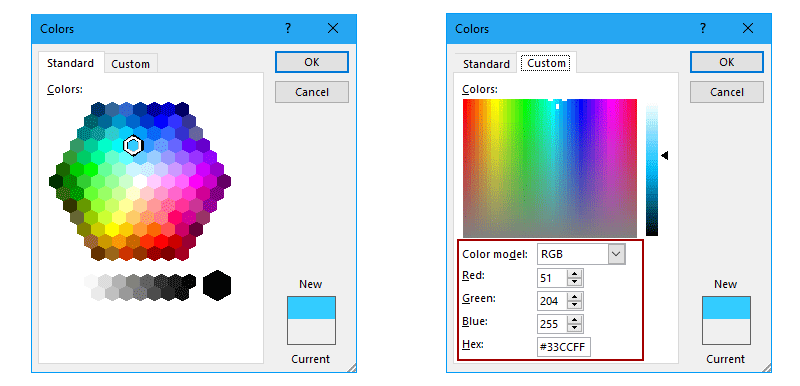
2. If the colors listing in the drop-down list cannot meet your needs, you can click Options > Page Color > More Colors to pick up a special color in the Colors dialog: pick up a color from the color palette under the Standard tab, or specify a color by RGB numbers under the Custom tab.
2. Add background image to an email
If you need to add background image to a new composing, replying, or forwarding email in Outlook, you can do as follows:
2.1 Add normal background image
This section will guide you to add a regular background image for a new composing, replying, or forwarding email in Outlook.
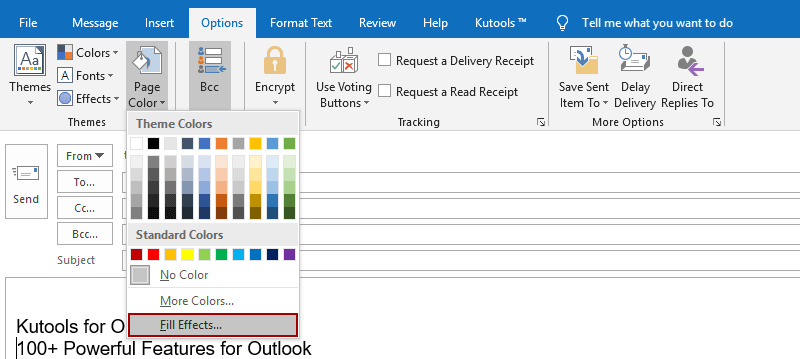
1. In the new composing, replying, or forwarding message window, click Options > Page Color > Fill Effects.
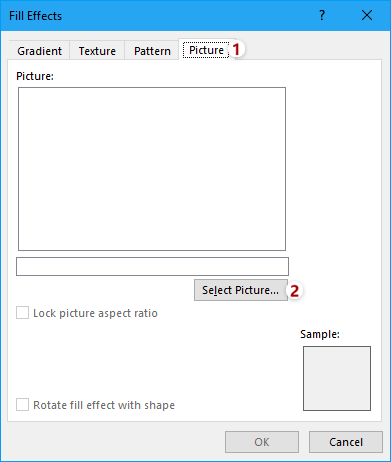
2. In the Fill Effects dialog, enable the Picture tab, and click the Select Picture button.
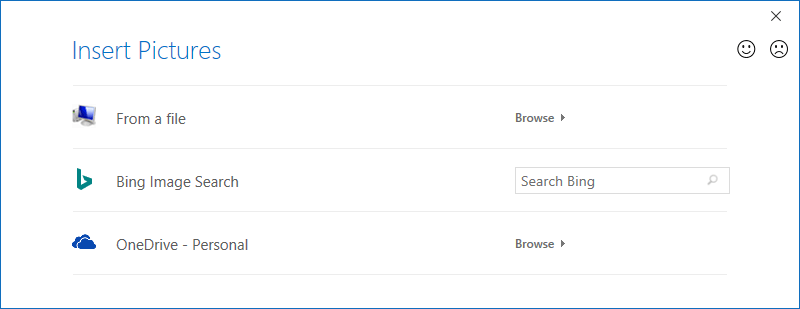
3. In the popping out Insert Pictures dialog, select a picture source as you need. In my case, I select From a file.
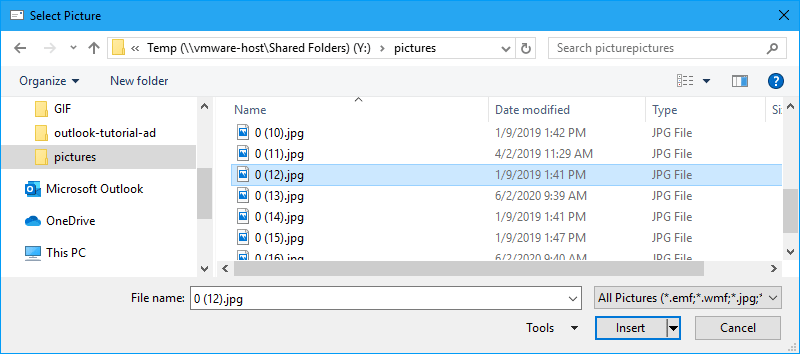
4. In the Select Picture dialog, open the folder containing the background image, select the image, and click the Insert button.
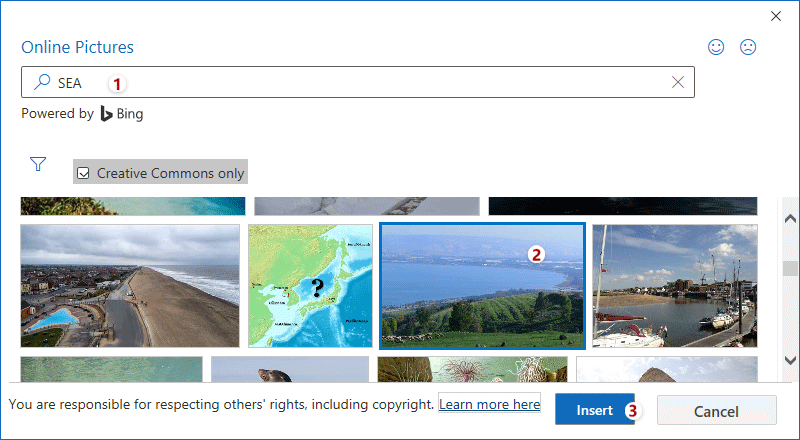
Tips: If you select Bing Image Search in the step 3, it will open the Online Pictures dialog. Type the keywords in the search box, select a picture from the search results, and click the Insert button.
5. Now it returns to the Fill Effects dialog, and click the OK button to insert the regular background image.
2.2 Add no-repeating background image
You may have noticed that the regular background image repeats automatically to cover the whole pages. In some cases, the repeating background image might not fit. Here you can follow below steps to add a no-repeating background image for a new composing, replying, or forwarding email in Outlook.
1. In the new composing, replying, or forwarding message window, click Insert > Pictures > This Device.
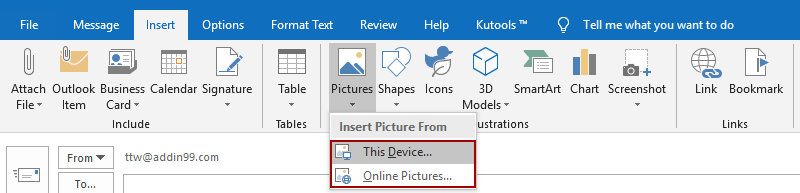
Tips: If you need to add an online picture as background image, click Insert > Picture > Online Pictures.
2. In the Insert Picture dialog, open the folder containing the background image, select the image, and click the Insert button.

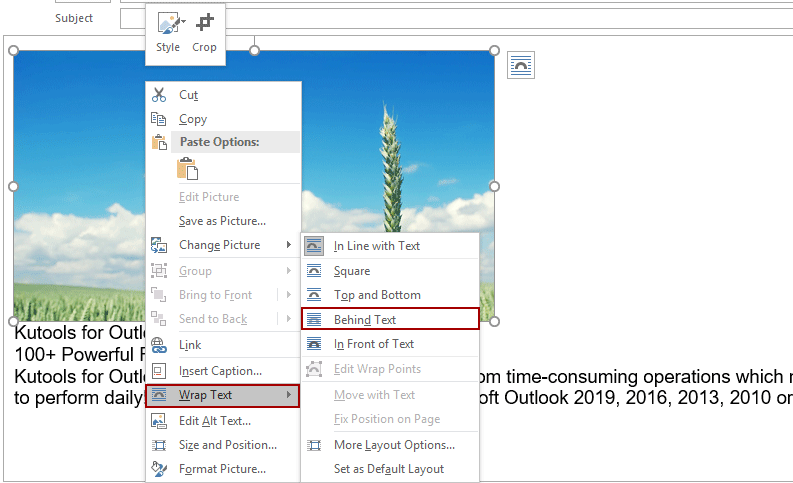
3. Now the picture is inserted in the message body. Right click the Picture, and select Wrap Text > Behind Text from the context menu.
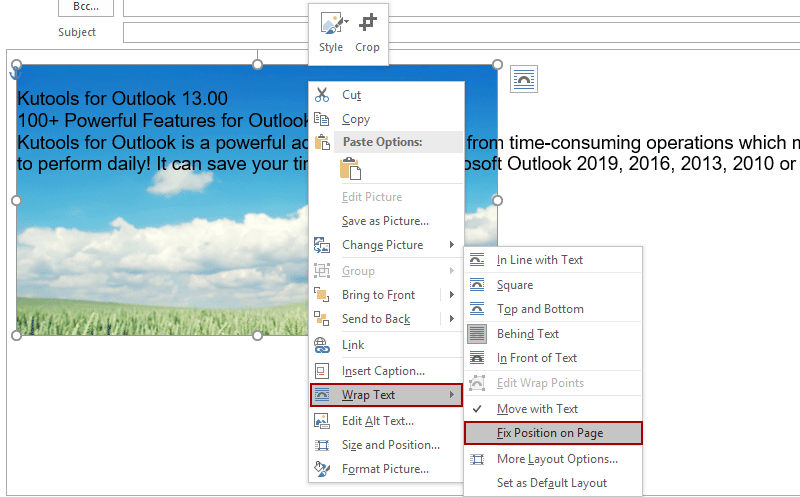
4. Then the picture is moved behind the message content. Go ahead to right click the picture, and select Wrap Text > Fix Position on Page from the context menu.
5. Move the image to the proper position, and adjust layout of message content if necessary.
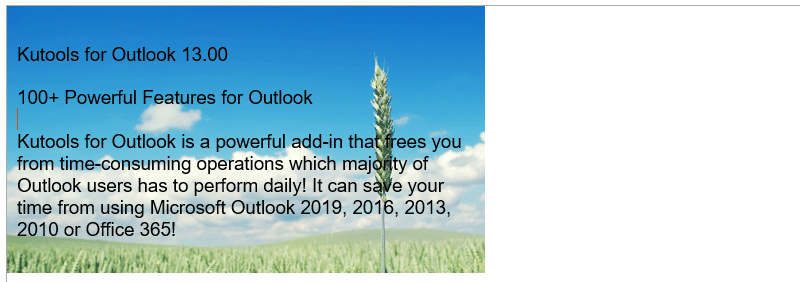
Then the no-repeat background image is added for the current email.
Tips: You can select the background image and press the Delete key to remove it directly.
2.3 Add transparent background image
If you need to add a transparent background image for a new composing, replying, or forwarding email in Outlook, do as follows:
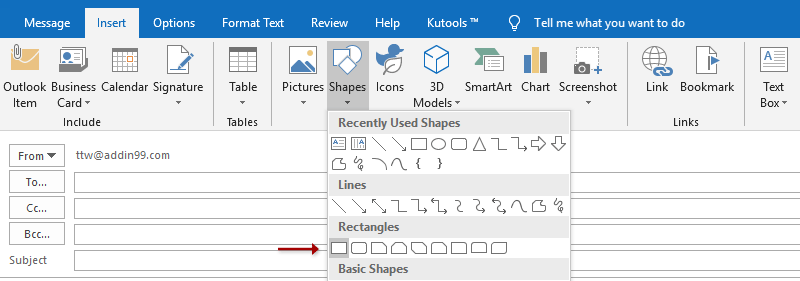
1. In the new composing, replying, or forwarding message window, click Insert > Shapes, and then select the regular rectangle from the drop-down list.
2. Now the cursor changes to a cross ![]() . Drag to draw a rectangle to cover the message content.
. Drag to draw a rectangle to cover the message content.
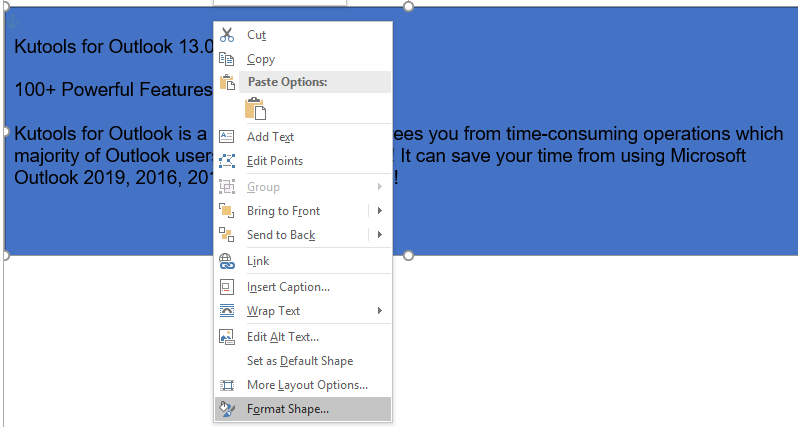
3. Right click the rectangle in the message body, and select Wrap Text > Behind Text from the context menu.

4. Right click the rectangle, and select Format Shape from the context menu.
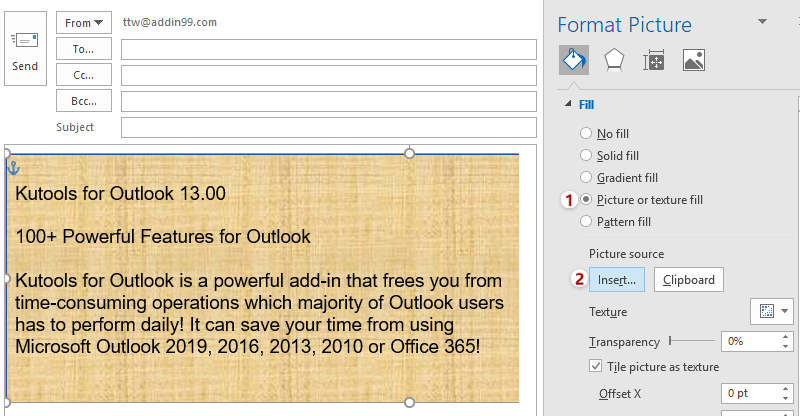
5. In the Format Picture (or Format Shape) pane, under the Fill & Line tab, check the Picture or texture fill option, and click the Insert button.
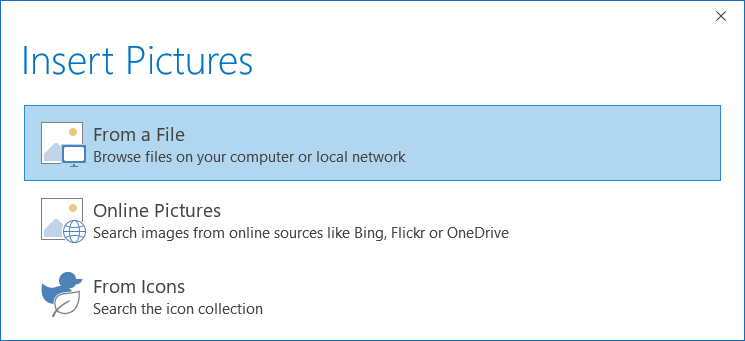
6. In the Insert Pictures dialog, select one of picture sources as you need. In my case, I select From a File.
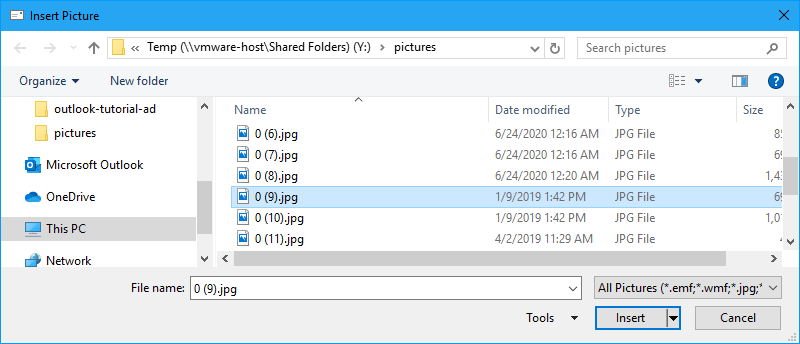
7. In the Insert Picture dialog, open the folder containing the specified image, select the image, and click the Insert button.
8. Now the image fills the rectangle. Go ahead to adjust the transparency percentage as you need in the Transparency box in the Format Picture pane.
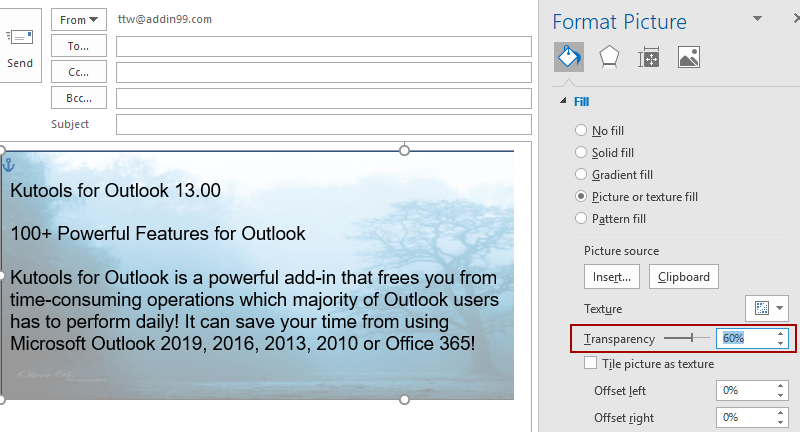
So far, we have inserted a transparent background image in the email.
Tips: You can select the rectangle (with image), and press the Delete key to remove it directly.
3. Add gradient background color to an email
To add a gradient background color for a new composing, replying, or forwarding email in Outlook, you can do as follows:
1. In the new composing, replying, or forwarding message window, click Options > Page Color > Fill Effects.
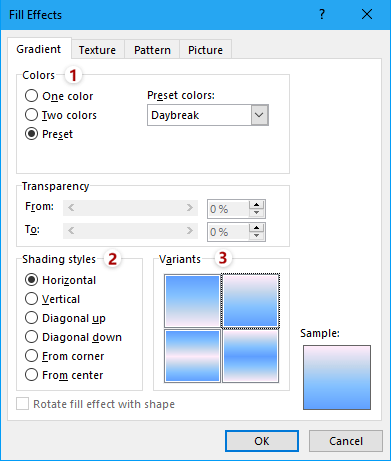
2. In the Fill Effects dialog, under the Gradient tab, specify the gradient colors, choose one of shading styles, and select one of gradient variants.
Tips:
Tip 1. There are three kinds of gradient colors you can choose:
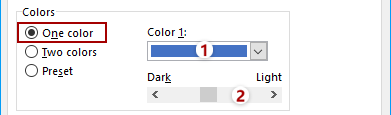
A. One color. This option will make gradient changes by the specified color and its darkness. Therefore, you need to specify the color in the Color 1 drop-down list, and adjust the darkness on the Dark-Light slider.
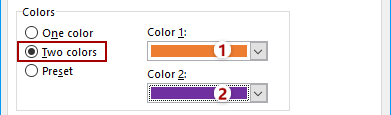
B. Two colors. This option will make gradient changes by the two specified colors in the Color 1 and Color 2 drop-down lists.
C. Preset. If you have no idea about combining gradient colors, you can activate this option and select one gradient style from the Preset colors drop-down list directly.
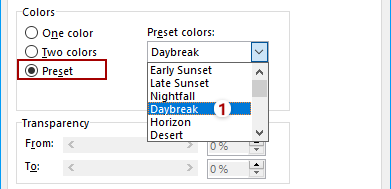
Tip 2. You can preview the gradient changes directly from Sample at the bottom-right corner of the dialog directly.
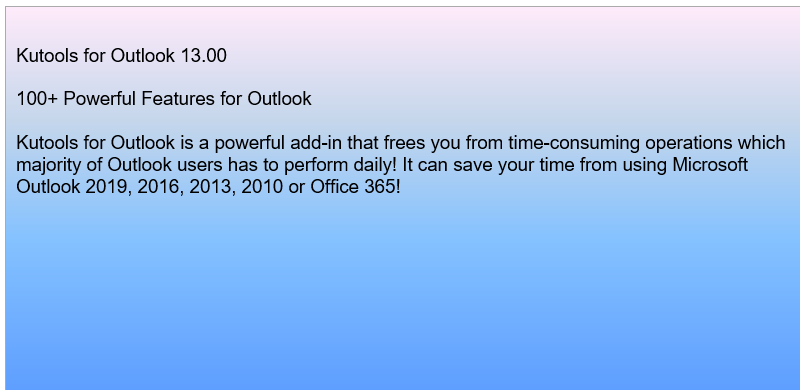
3. Click the OK button to apply the gradient background color to the email.
4. Add background texture to an email
You can also add a background texture to a new composing, replying, forwarding email in Outlook.
1. In the new composing, replying, or forwarding message window, click Options > Page Color > Fill Effects.
2. In the Fill Effects dialog, under the Texture tab, specify one of textures, and click the OK button.
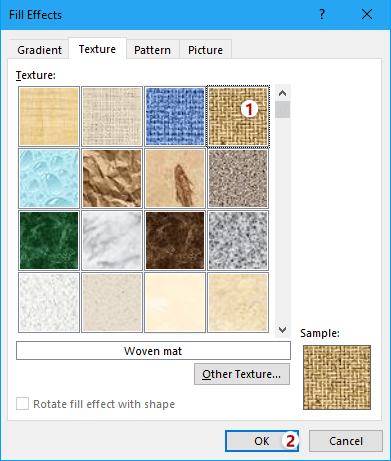
Tips: In the Fill Effects dialog, you can also click the Other Texture button to specify a texture from your hard disks, OneDrive folders, or online sources as you need.
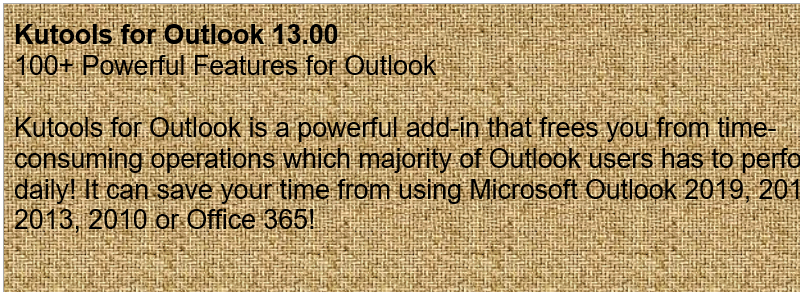
Then you will see the specified texture is added as background in the email.
5. Add background pattern to an email
To add background pattern to a new composing, replying, or forwarding email in Outlook, you can do as follows:
1. In the new composing, replying, or forwarding message window, click Options > Page Color > Fill Effects.
2. In the Fill Effects dialog, under the Pattern tab, you need to:
(1) Click to select one of patterns;
(2) Specify the foreground color for the selected pattern;
(3) Specify the background color for the selected pattern;
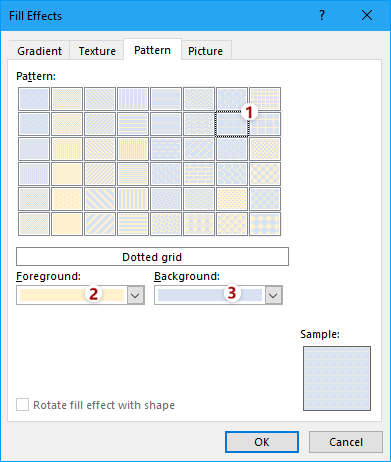
3. Click the OK button to apply the background pattern.
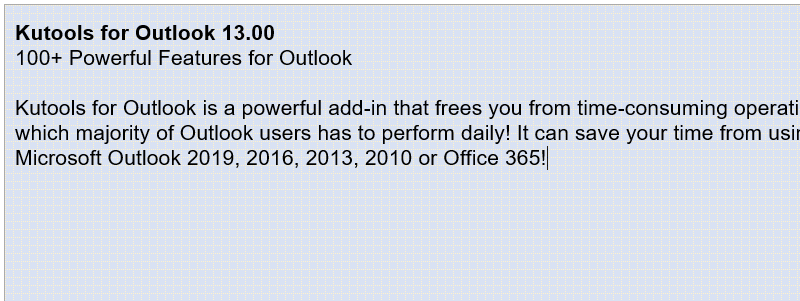
Then in the email, you will get the background pattern as below screenshot shown:
6. Remove background color/image/texture/pattern from an email
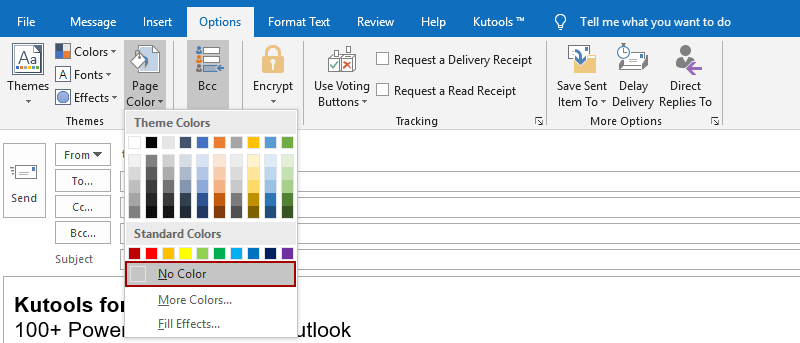
No matter background color or background image/texture/pattern you have added for a composing, replying, or forwarding email, you can remove them easily.
In the new composing, replying, or forwarding message window, click Options > Page Color > No Color to remove the background color/image/texture/pattern immediately.
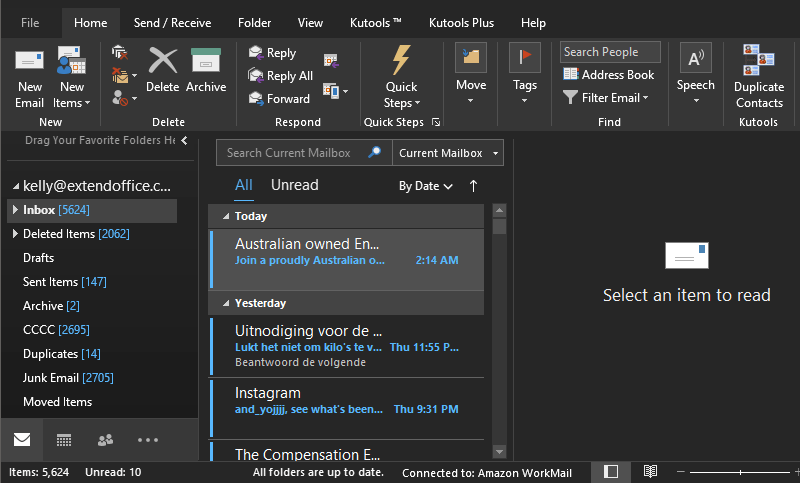
7. Switch Black mode to Outlook
In the new versions of Outlook, you may notice that we can change the background color of Outlook windows to black, dark gray, white, and blue color.
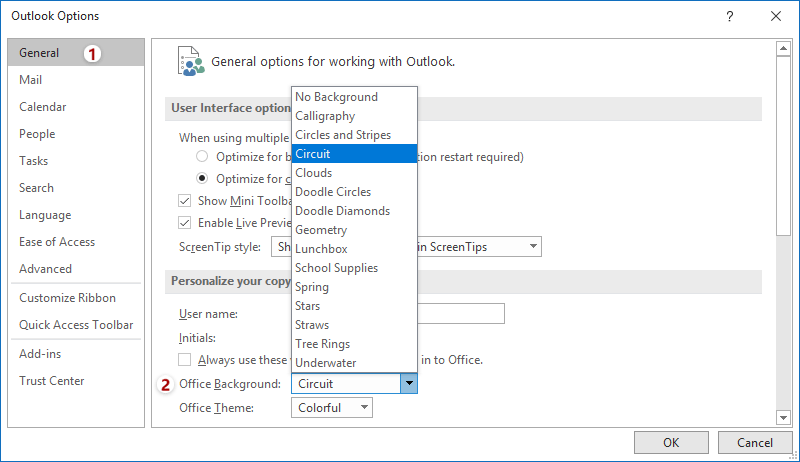
1. Click File > Options.
2. In the Outlook Options dialog, click General in the left bar, and then select a theme from the Office Theme drop-down list.
In my case, I specify the Office Theme as Black.
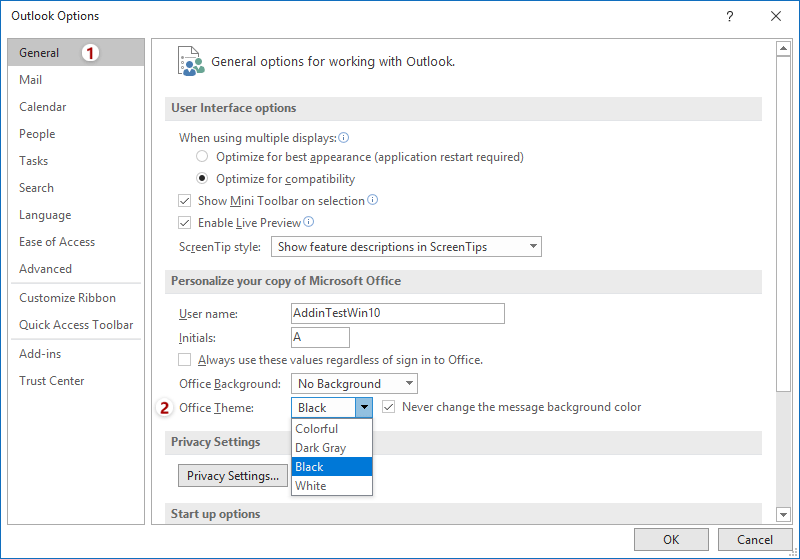
3. Click the OK button.
Then the background color of the Outlook windows is changed to black. See screenshot:
Tips:
(1) The specified office theme will be applied to all Office applications, such as Microsoft Word, Excel, PowerPoint, etc.
(2) To switch to normal model, you can select Colorful from the Office Theme drop-down list under the General tab in the Outlook Options dialog.
8. Add background image for Outlook Ribbon
You can also add a background image at the top of Outlook Ribbons.
1. Click File > Options.
2. In the Outlook Options dialog, click General in the left bar, and then specify a background image from the Office Background drop-down list.
3. Click the OK button to apply the background image.
Then you will see the background image is added at the top of Ribbons in every Outlook window.
The background image shows at the top of Ribbon in the Outlook main view:

The background image displays at the top of Ribbon the composing message window:

Tips:
(1) The specified background image will be added to Ribbons of all Office applications, such as Microsoft Word, Excel, PowerPoint, etc.
(2) To remove the background image from Ribbons, you can select No Background from the Office Background drop-down list under the General tab in the Outlook Options dialog.
More articles ...
Best Office Productivity Tools
Experience the all-new Kutools for Outlook with 100+ incredible features! Click to download now!
📧 Email Automation: Auto Reply (Available for POP and IMAP) / Schedule Send Emails / Auto CC/BCC by Rules When Sending Email / Auto Forward (Advanced Rules) / Auto Add Greeting / Automatically Split Multi-Recipient Emails into Individual Messages ...
📨 Email Management: Recall Emails / Block Scam Emails by Subjects and Others / Delete Duplicate Emails / Advanced Search / Consolidate Folders ...
📁 Attachments Pro: Batch Save / Batch Detach / Batch Compress / Auto Save / Auto Detach / Auto Compress ...
🌟 Interface Magic: 😊More Pretty and Cool Emojis / Remind you when important emails come / Minimize Outlook Instead of Closing ...
👍 One-click Wonders: Reply All with Attachments / Anti-Phishing Emails / 🕘Show Sender's Time Zone ...
👩🏼🤝👩🏻 Contacts & Calendar: Batch Add Contacts From Selected Emails / Split a Contact Group to Individual Groups / Remove Birthday Reminders ...
Use Kutools in your preferred language – supports English, Spanish, German, French, Chinese, and 40+ others!


🚀 One-Click Download — Get All Office Add-ins
Strongly Recommended: Kutools for Office (5-in-1)
One click to download five installers at once — Kutools for Excel, Outlook, Word, PowerPoint and Office Tab Pro. Click to download now!
- ✅ One-click convenience: Download all five setup packages in a single action.
- 🚀 Ready for any Office task: Install the add-ins you need, when you need them.
- 🧰 Included: Kutools for Excel / Kutools for Outlook / Kutools for Word / Office Tab Pro / Kutools for PowerPoint