Format Font of selected text in message body
When you composing, replying, or formatting an email in Outlook, you may need to change font of some text in the message body. Now this tutorial will show you how to get it done.
- Format font of selected text in message body
- Use hotkeys to format font of select text in message body
- Format font of selected text with Font dialog
Note: Methods introduced on this page apply to Microsoft Outlook 2019 desktop program in Windows 10. And the instructions may vary significantly or slightly depending on the version of Microsoft Outlook and the Windows environments.
Format font of selected text in message body
You can easily change or format font of the selected text or the whole message body when composing a new email, or replying/forwarding an email in Outlook.
1. In the message body, select the text whose font you will change.
Tips: If you need to change the font in the whole message body, please put cursor in the message body, and then press Ctrl + A keys to select the whole message body.
2. Go to the Font group on the Format Text tab, and click the specified buttons to format font as you need.

- Font: Click the Font drop-down list, and pick up a new font from the Font drop-down list. Alternatively, you can type the font name in the Font box and press Enter key directly.
- Font size: Click the Font Size drop-down list, and pick up a number from the Font Size drop-down list. By the way, you can also type in a number in the Font Size box and press Enter key to change the font size directly.
- Increase Font size: Click the Increase Font Size button
 to increase slightly the font size of selected text.
 - Decrease Font Size: Click the Decrease Font Size button
 to decrease slightly the font size of selected text.
 - Bold: Click the Bold button
 to bold selected text in message body.
 - Italic: Click the Italic button
 to italicize selected text in the message body.
 - Underline: Click the Underline button
 to add underline for the selected text.
 - Strikethrough: Click the Strikethrough button
 to add strikethrough across selected text.
 - Subscript: Click the Subscript button
 to shrink the selected text to very small letter under the line of text.
 - Superscript: click the Superscript button
 to shrink the selected text above the line of text
 - Text highlight color: Click the Text Highlight Color button
 , and pick up a highlight color for the selected text.
 - Font color: Select a color from the Font Color drop down list
 to set font color for selected text.
 - Change case: Click the Change Case button
 and select one of options to change to uppercase, lowercase, sentence case, or others.
 - Half width & full width: Click Change Case > Half-width or Full-width as you need to convert selected text between half-width and full-width.
- Character shading: Click the Character Shading button
 to add the gray background for the current selected text.
 - Character border: Click the Character Border button
 to add a solid black border around the selected text.
 - Phonetic Guide: Click the Phonetic Guide button
 , then in the Phonetic Guide dialog review the ruby text for each character, change the ruby text, and format the alignment, offset, font, or font size of the ruby text in the corresponding boxes as you need.
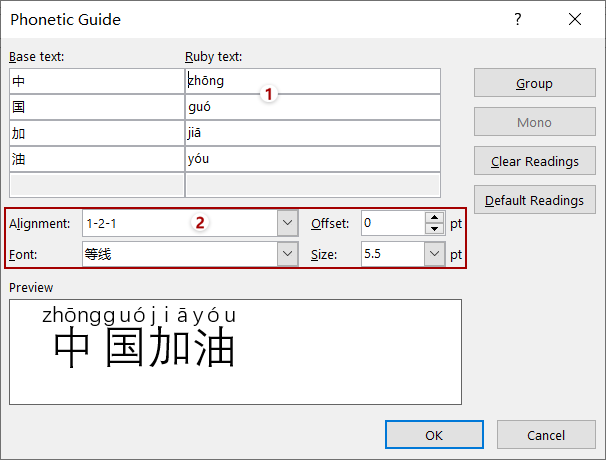
- Clear all formatting: Click the Clear All Formatting button
 to clear all formatting from selected text.

Use hotkeys to format font of select text in message body
You can also use hotkeys to format the font of selected text in the message body when composing new emails or replying/forwarding emails in Outlook.
| Feature | Hotkeys |
| Increase Font Size | Ctrl + Shift + > |
| Decrease Font Size | Ctrl + Shift + < |
| Italic | Ctrl + I |
| Bold | Ctrl + B |
| Underline | Ctrl + U |
| Subscript | Ctrl + = |
| Superscript | Ctrl + Shift + + |
Format font of selected text with Font dialog
Alternatively, you can also change the font of the selected text or the whole message body with the Font dialog. Please do as follows:
1. Select the text whose font you will change in the message body.
Tips: To change the font in the whole message body, please select the whole message body with pressing Ctrl + A keys together.
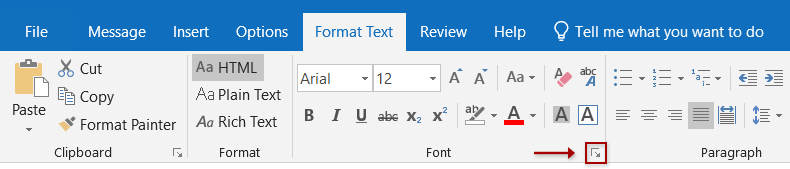
2. Click the anchor ![]() at the bottom-right corner of Font group on the Format Text tab (or Basic Text group on the Message tab) to opens the Font dialog.
at the bottom-right corner of Font group on the Format Text tab (or Basic Text group on the Message tab) to opens the Font dialog.
Tips: You can also open the Font dialog with pressing the Ctrl + D keys together.
3. In the Font dialog, you can configure as you need:
3.1 Change Font
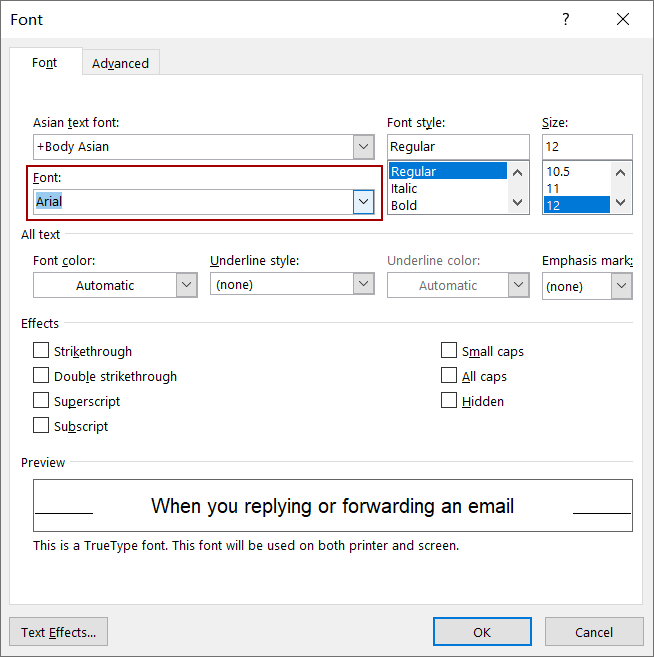
In the Font dialog, please select a new font from the Font drop-down list, and click the OK button.
3.2 Font Size
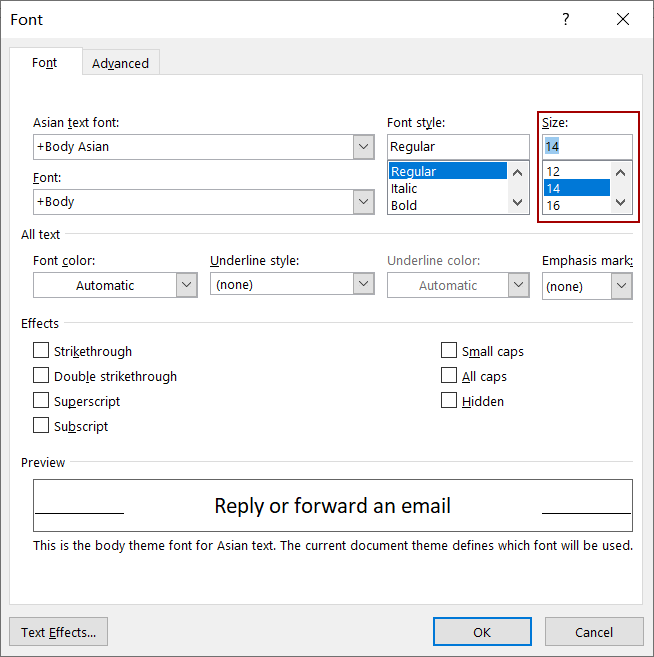
select or enter a font size in the Size list box, and click the OK button.
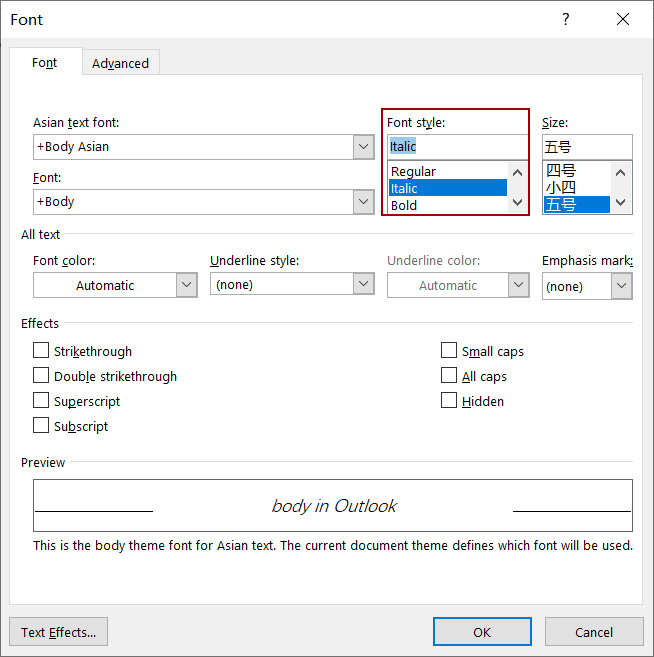
3.3 Italic or Bold
In the Font dialog, enable the Font tab, click to highlight Italic or Bold in the Font style list box, and click the OK button.
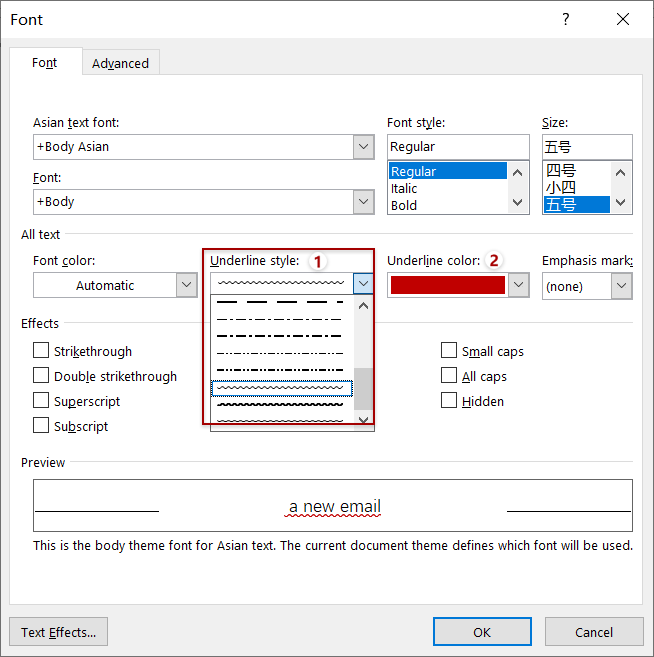
3.4 Underline
In the Font dialog, enable the Font tab, and then:
(1) Select an underline style from the Underline style drop-down list;
(2) If you need to color the underline, please select a color from the Underline color drop-down list.
(3) Click the OK button.
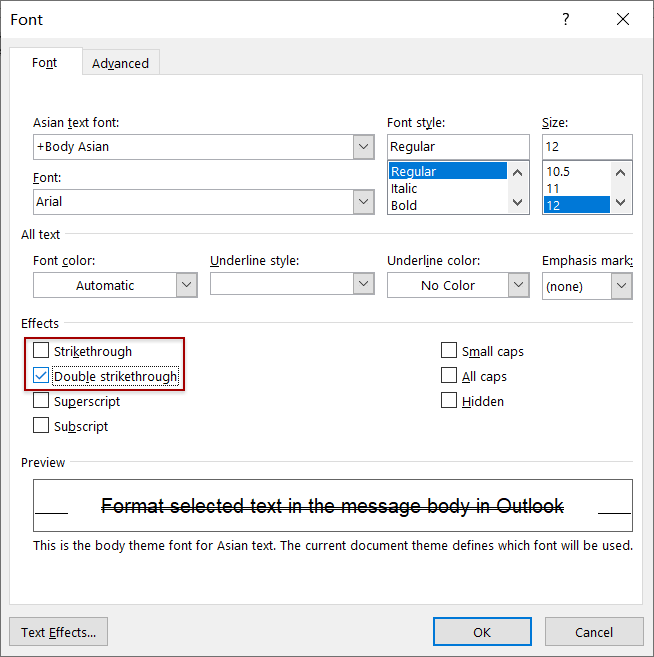
3.5 Strikethrough & Double Strikethrough
In the Font dialog, enable the Font tab, tick the Strikethrough option or Double Strikethrough option as you need, and click the OK button.
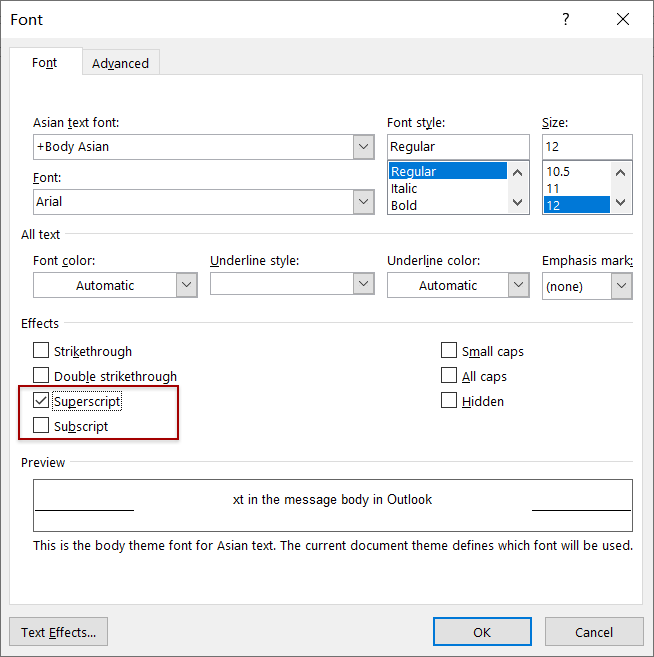
3.6 Superscript & Subscript
In the Font dialog, enable the Font tab, tick the Superscript or Subscript options as you need, and click the OK button.
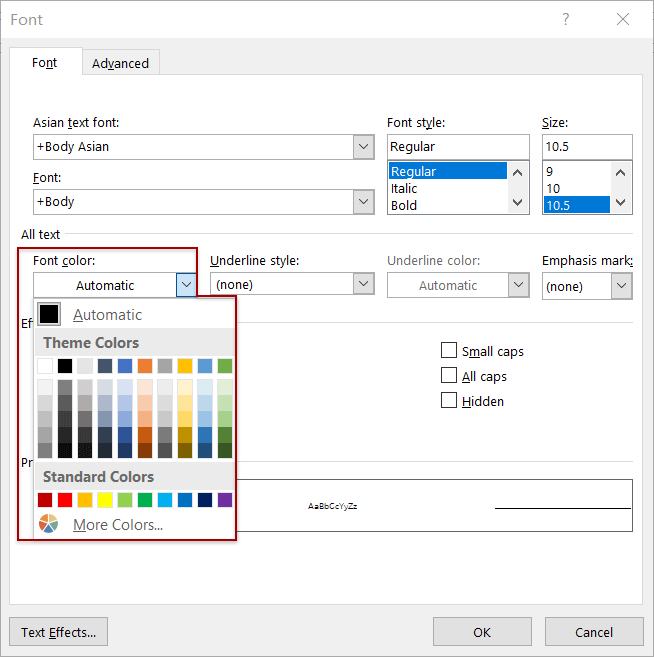
3.7 Font Color
In the Font dialog, enable the Font tab, and click the box below Font color and select a color from the drop-down list, and finally click the OK button.
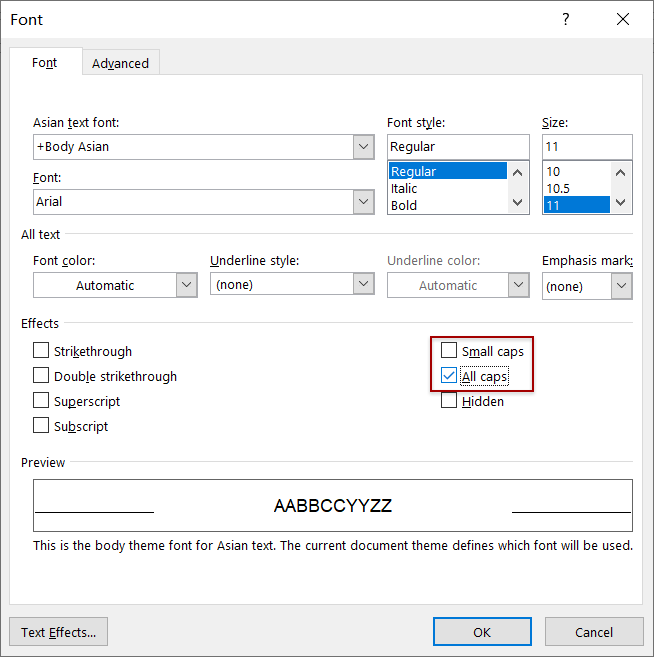
3.8 Small caps & All caps
In Font dialog, enable the Font tab, tick the Small caps or All caps options as you need, and click the OK button.
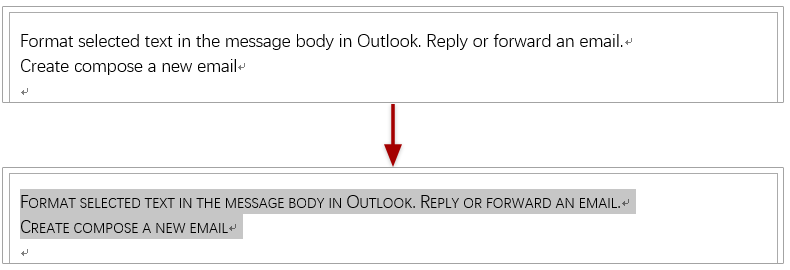
If you tick the Small caps option in the Font dialog, all letters in the selected text will be changed to uppercase, and the first letter in each sentence will be bigger then others. See screenshot:
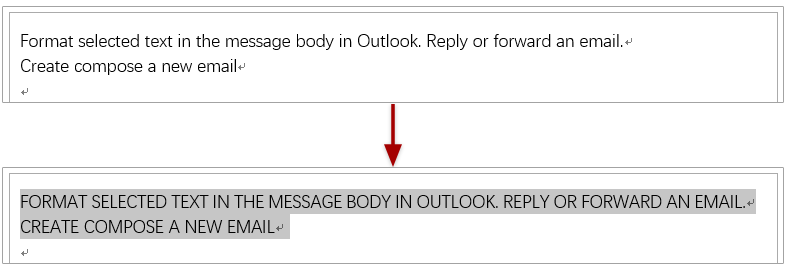
If you tick the All caps option in the Font dialog, all letters in the selected text will be change to uppercase in the same font size. See screenshot:
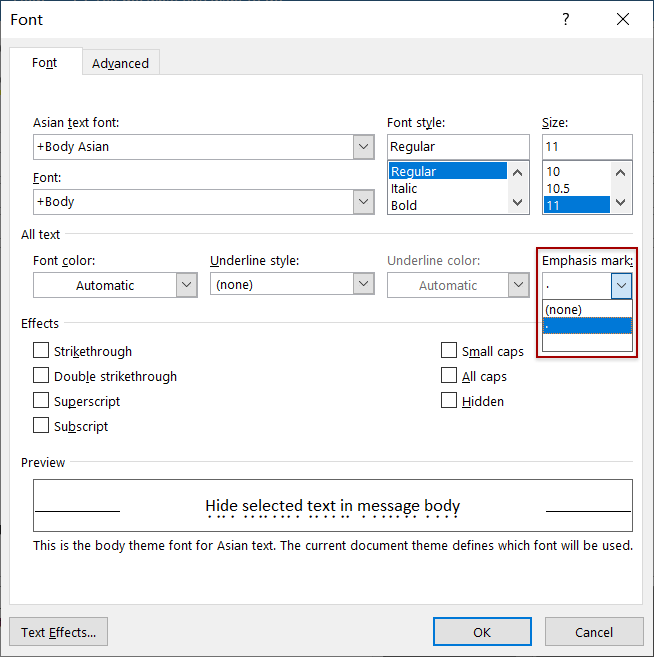
3.9 Emphasis mark
In the Font dialog, enable the Font tab, select the emphasis mark from the Emphasis mark drop-down list, and click the OK button.
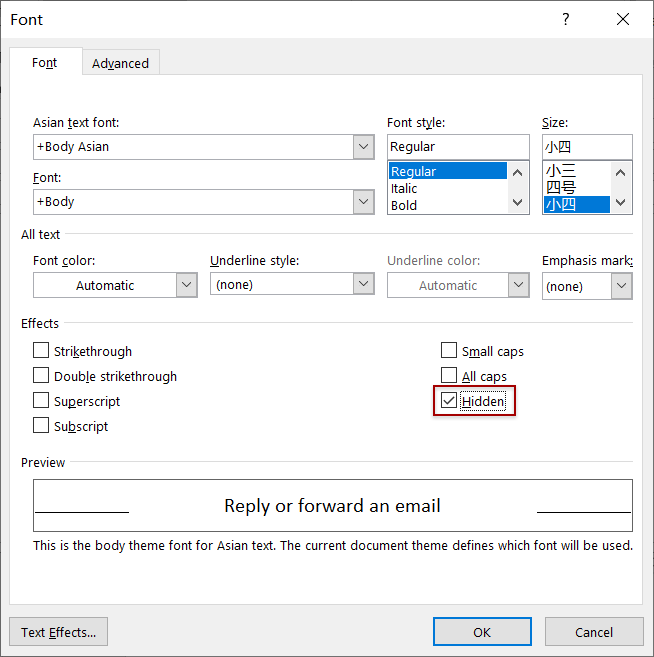
3.10 Hidden Text
In the Font dialog, enable the Font tab, and check the Hidden option in the Effects section, and click the OK button.
3.11 Character Spacing
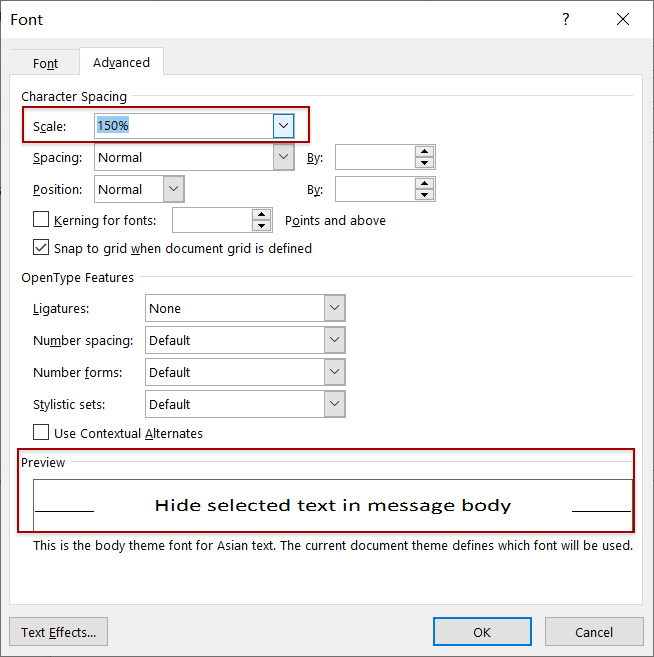
In the Font dialog, enable the Advanced tab, and you can set the character spacing of the selected text in the Character Spacing section.3.11.1 Scale
The Scale option can stretch or compress the selected text horizontally to adjust the character spacing. If the scale percentage is greater than 100%, it will stretch the characters horizontally; and it will compress the characters when the scale percentage is less than 100%.
Click the Scale box and then select a percentage from the drop-down list.
Tips: you can preview the selected text with new character spacing in the Preview section of the Font dialog.
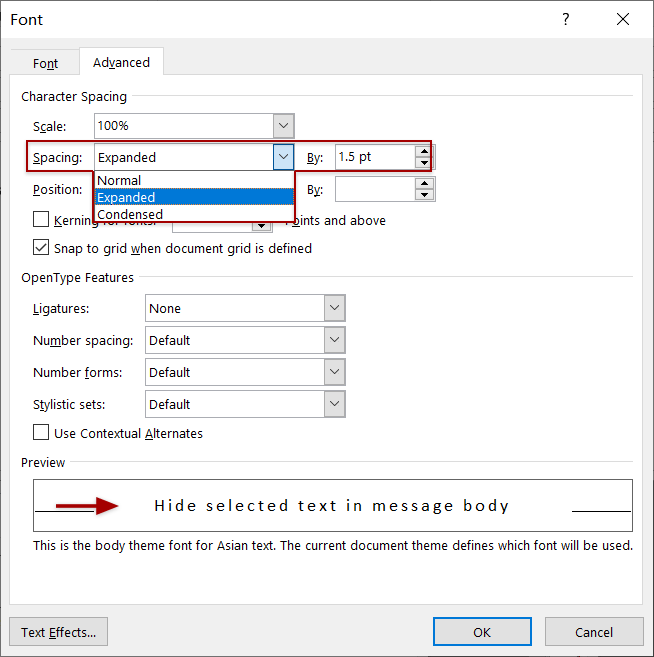
3.11.2 Spacing
The Spacing option will expand or condense spaces between characters in the selected text. If you choose expanded spacing, the space between characters will be bigger, while condense spacing will make the selected text tight.
Click the Spacing box, select Expanded or Condensed from the drop-down list as you need, and enter the number of points you want to expand or condense in the By box.
Tips: you can preview the selected text with new character spacing in the Preview section of the Font dialog.
3.11.3 Position
The Position Option can move up or down the selected characters by the specified number of points.
Click the Position box, select Raised or Lowered from the drop-down list, and then specify the number of points in the right By box.
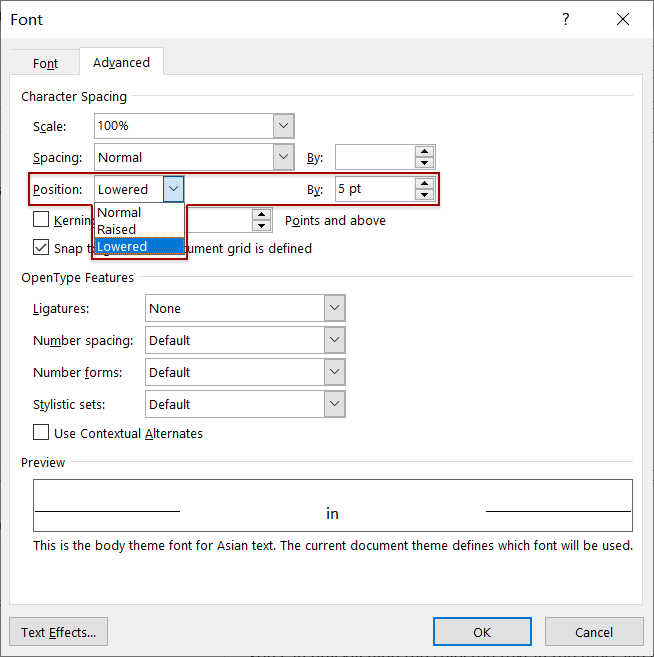
After you click the OK button to save the settings, you will see the selected characters are raised or lowered by the specified number of points.

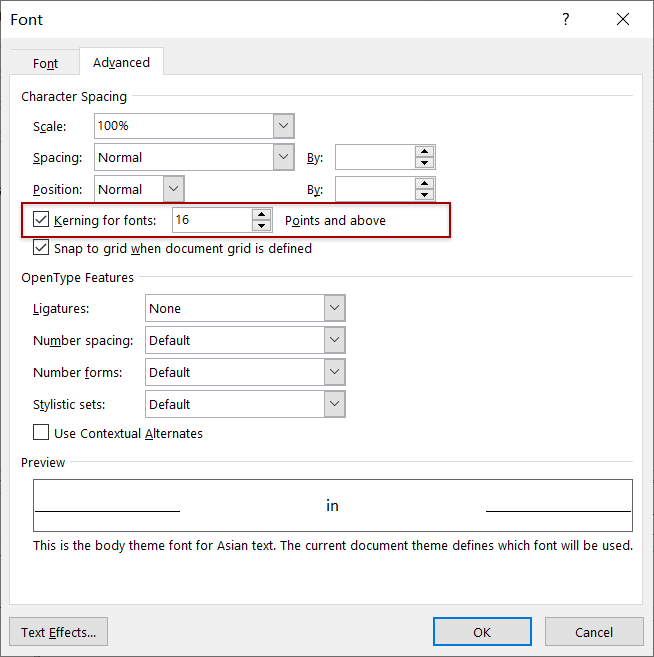
3.11.4 Kern for fonts
The Kern for fonts option can adjust the spaces between special pairs of characters, says “Te”, and make the spaces between these special characters similar visually.
Tick the Kerning for fonts option, and specify a font size in the Points and above box.
More articles ...
Best Office Productivity Tools
Experience the all-new Kutools for Outlook with 100+ incredible features! Click to download now!
📧 Email Automation: Auto Reply (Available for POP and IMAP) / Schedule Send Emails / Auto CC/BCC by Rules When Sending Email / Auto Forward (Advanced Rules) / Auto Add Greeting / Automatically Split Multi-Recipient Emails into Individual Messages ...
📨 Email Management: Recall Emails / Block Scam Emails by Subjects and Others / Delete Duplicate Emails / Advanced Search / Consolidate Folders ...
📁 Attachments Pro: Batch Save / Batch Detach / Batch Compress / Auto Save / Auto Detach / Auto Compress ...
🌟 Interface Magic: 😊More Pretty and Cool Emojis / Remind you when important emails come / Minimize Outlook Instead of Closing ...
👍 One-click Wonders: Reply All with Attachments / Anti-Phishing Emails / 🕘Show Sender's Time Zone ...
👩🏼🤝👩🏻 Contacts & Calendar: Batch Add Contacts From Selected Emails / Split a Contact Group to Individual Groups / Remove Birthday Reminders ...
Use Kutools in your preferred language – supports English, Spanish, German, French, Chinese, and 40+ others!


🚀 One-Click Download — Get All Office Add-ins
Strongly Recommended: Kutools for Office (5-in-1)
One click to download five installers at once — Kutools for Excel, Outlook, Word, PowerPoint and Office Tab Pro. Click to download now!
- ✅ One-click convenience: Download all five setup packages in a single action.
- 🚀 Ready for any Office task: Install the add-ins you need, when you need them.
- 🧰 Included: Kutools for Excel / Kutools for Outlook / Kutools for Word / Office Tab Pro / Kutools for PowerPoint