Format Text Effects – Text Outline
When you are composing, replying, or forwarding an email in Outlook, you can add text outline effects for the selected text in the message body. And this tutorial will show you how to get it done.
Add text outline effects for selected text in message body

Note: Methods introduced on this page apply to Microsoft Outlook 2019 desktop program in Windows 10. And the instructions may vary significantly or slightly depending on the version of Microsoft Outlook and the Windows environments.
Add text outline effects for selected text in message body
When you are editing an email in Outlook, you can follow below guidance to add text outline effects for the selected text in the message body.
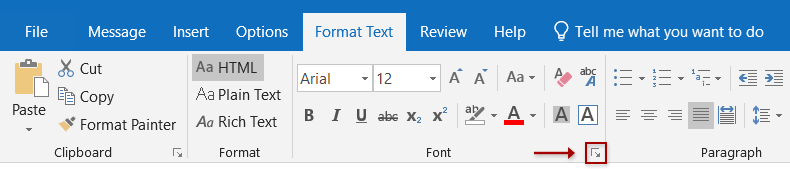
1. In the message body, select the text you will add text outline effects for.
2. Press Ctrl + D keys to open the Font dialog.
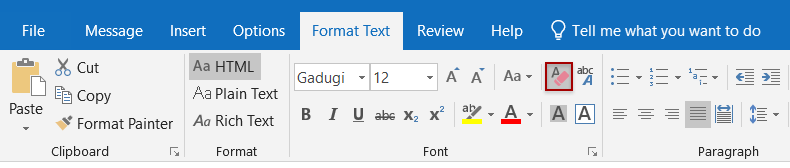
Tips: You can also click the anchor ![]() at the bottom-right corner of the Font group on the Format Text tab to open the Font dialog.
at the bottom-right corner of the Font group on the Format Text tab to open the Font dialog.
3. In the Font dialog, click the Text Effects button at the bottom-right corner.
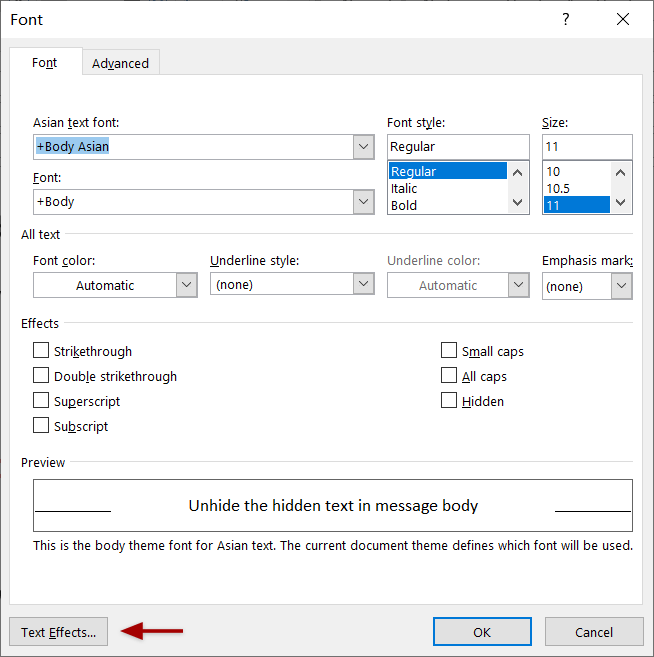
4. In the Format Text Effects dialog, enable the Text Fill & Outline tab, and click the blank arrow ![]() before Text Outline to expand this section.
before Text Outline to expand this section.
5. Select one style of text outlines, and configure the outline parameters as you need.
No line
If you do not need to add outline for the selected text, or remove outline from the selected text, please select the No line option.
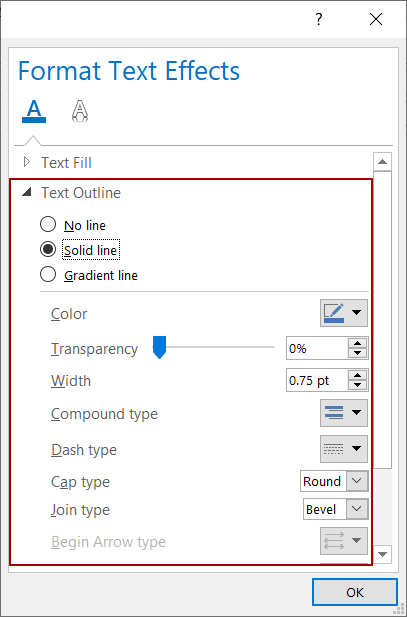
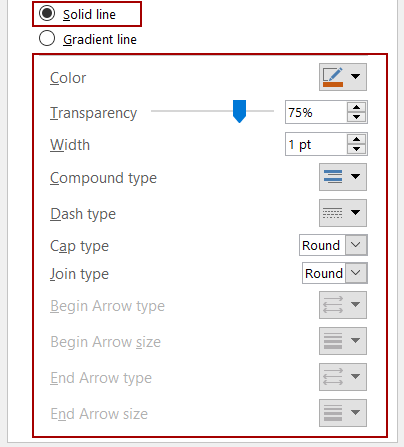
Solid line
If you need to add solid outline for the selected text, please select the Solid line option, and set the solid outline parameters as you need.
- Color: Specify a color for the font outline from the Color drop-down list;
- Transparency: Type the transparency percentage for the font outline in the Transparency box;
- Width: Type the number of width points for the font outline in the Width box;
- Compound type: Specify the compound type for the font outline from the Compound type drop-down list;
- Dash type: Select a style of dash for the font outline from the Dash type drop-down list;
- Cap type: Select a cap type for the font outline from the Cap type drop-down list;
- Joint type:Specify a joint type for the font outline from the Join type drop-down list.
Gradient line
If you need to add gradient font outline for the selected text in the message body, please select the Gradient line option, and configure the parameters for the gradient line.
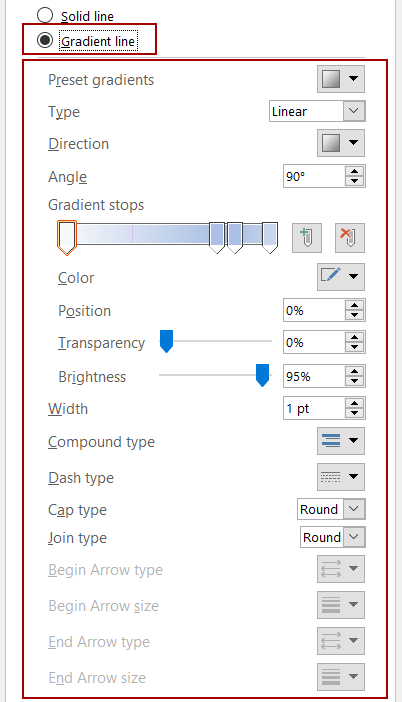
- Preset gradients: Quickly select one style of gradients for the font outline from the Preset gradients drop-down list;
- Type: Choose the gradient type for the font outline from the Type drop-down list;
- Direction: Specify the gradient direction for the font outline from the Direction drop-down list;
- Angle: Change the gradient angle for the font outline in the Angle box;
- Add gradient stop: Click the Add gradient stop button to add a gradient stop for the gradient;
- Remove gradient stop: Select a gradient stop on the gradient bar, and click the Remove gradient stop button to delete it;
- Color: Specify a new color for the currently selected gradient stop;
- Position: Move the currently selected gradient stop on the gradient stops bar;
- Transparency: Change the transparency for the currently selected gradient stop;
- Brightness: Adjust the brightness for the currently selected gradient stop;
- Width: Type the number of width points for the font outline in the Width box;
- Compound type: Specify the compound type for the font outline from the Compound type drop-down list;
- Dash type: Select a style of dash for the font outline from the Dash type drop-down list;
- Cap type: Select a cap type for the font outline from the Cap type drop-down list;
- Joint type:Specify a joint type for the font outline from the Join type drop-down list.
6. Click the OK buttons to save the settings and close the Format Text Effects dialog and Font dialog successively.
Note
Select the text in the message body and click the Clear All Formatting button ![]() on the Format Text tab to clear all formatting from the text.
on the Format Text tab to clear all formatting from the text.
More articles ...
Best Office Productivity Tools
Experience the all-new Kutools for Outlook with 100+ incredible features! Click to download now!
📧 Email Automation: Auto Reply (Available for POP and IMAP) / Schedule Send Emails / Auto CC/BCC by Rules When Sending Email / Auto Forward (Advanced Rules) / Auto Add Greeting / Automatically Split Multi-Recipient Emails into Individual Messages ...
📨 Email Management: Recall Emails / Block Scam Emails by Subjects and Others / Delete Duplicate Emails / Advanced Search / Consolidate Folders ...
📁 Attachments Pro: Batch Save / Batch Detach / Batch Compress / Auto Save / Auto Detach / Auto Compress ...
🌟 Interface Magic: 😊More Pretty and Cool Emojis / Remind you when important emails come / Minimize Outlook Instead of Closing ...
👍 One-click Wonders: Reply All with Attachments / Anti-Phishing Emails / 🕘Show Sender's Time Zone ...
👩🏼🤝👩🏻 Contacts & Calendar: Batch Add Contacts From Selected Emails / Split a Contact Group to Individual Groups / Remove Birthday Reminders ...
Use Kutools in your preferred language – supports English, Spanish, German, French, Chinese, and 40+ others!


🚀 One-Click Download — Get All Office Add-ins
Strongly Recommended: Kutools for Office (5-in-1)
One click to download five installers at once — Kutools for Excel, Outlook, Word, PowerPoint and Office Tab Pro. Click to download now!
- ✅ One-click convenience: Download all five setup packages in a single action.
- 🚀 Ready for any Office task: Install the add-ins you need, when you need them.
- 🧰 Included: Kutools for Excel / Kutools for Outlook / Kutools for Word / Office Tab Pro / Kutools for PowerPoint