Insert and Format Pictures in body of email
In Outlook emails, pictures can help our recipients read our message more visually and easily. Normally, we can easily insert pictures in the message body by Insert > Pictures. Apart from sending the original pictures to our recipients, we also can format and decorate the pictures in the message body, such as compressing picture sizes, crop pictures, etc.
Table of Content
- 1. Insert pictures in body of email
- 2. Adjust a picture
- 3. Decorate Pictures
- 4. Add Alternative Text for a Picture
- 5. Insert Caption for a picture
- 6. Add link for a picture
- 7. Wrap Text
- 8. Rotate a picture
- 9. Resize a picture
Note: Methods introduced on this page apply to Microsoft Outlook 2019 desktop program in Windows 10. And the instructions may vary significantly or slightly depending on the version of Microsoft Outlook and the Windows environments.
1. Insert pictures in body of email
After opening a new message window or a replying/forwarding window in Outlook, you can easily insert one or multiple pictures in the message body as follows:
1.1 Insert pictures from hard disk
You can insert one or multiple pictures in the current message body from a hard disk.
1.1.1 In the composing, replying, or forwarding message window, click Insert > Pictures > This Device.
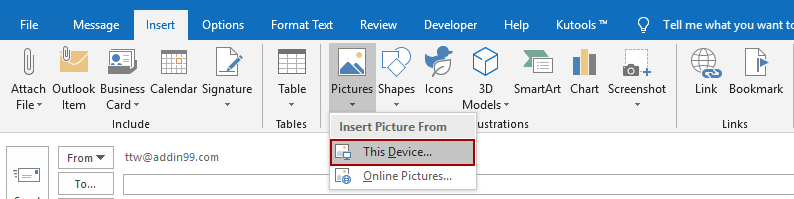
Tips: If the Pictures button is gray and invalid, please place the cursor in message body to activate it.
1.1.2 In the Insert Picture dialog, open the folder containing the pictures you will insert, select these pictures, and click the Insert button.
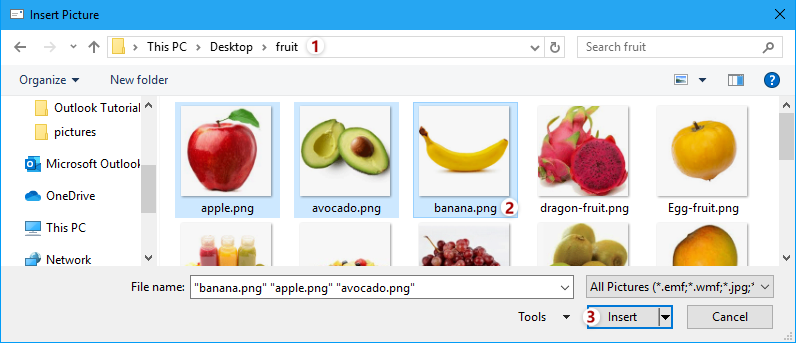
Tips: Holding Ctrl key, you can select multiple nonadjacent pictures by clicking them one by one; holding Shift key, you can select multiple adjacent pictures by clicking the first picture and the last one.
Now the selected pictures are inserted in the message body in bulk.
1.2 Insert online pictures (from OneDrive)
You can also insert online pictures in the message body too.
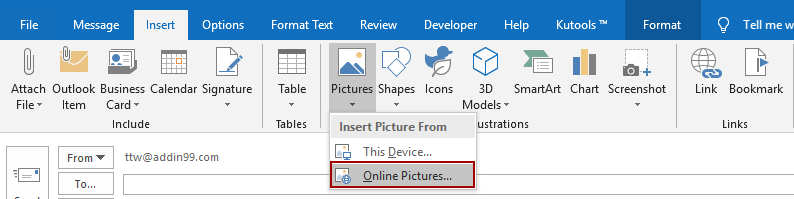
1.2.1 In the composing, replying, or forwarding message window, click Insert > Pictures > Online Pictures.
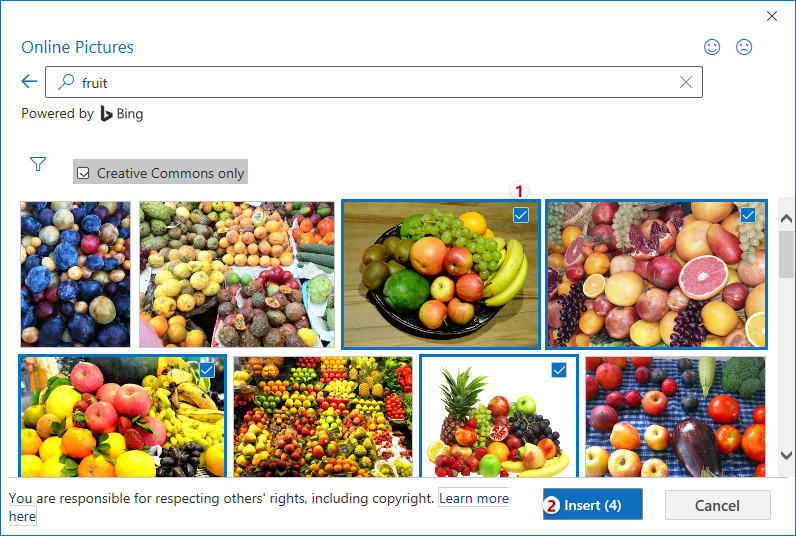
1.2.2 In the Online Pictures window, type the keywords in the search box, and press Enter key to find out proper pictures.
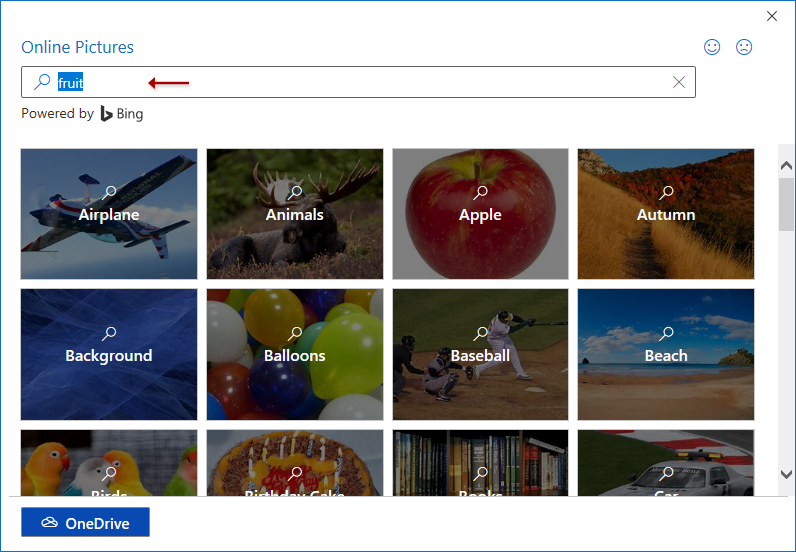
Tips: If you need to insert online pictures from a OneDrive folder, please click the OneDrive button at the bottom-left corner of this Online Pictures window to open the OneDrive folder.
1.2.3 Now the pictures are found out. Click to select the pictures you will insert in the message body, and click the Insert button.
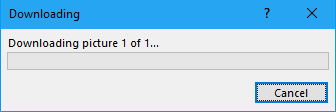
After the specified online pictures downloaded, they will be inserted in the message body in bulk.
1.3 Insert picture from a screenshot of opening windows
Sometimes, you may need to take a screenshot and insert it in the message body. You can get it done by the Screenshot feature quickly.
1.3.1 In the composing, replying, or forwarding message window, click Insert > Screenshot > Screen Clipping.
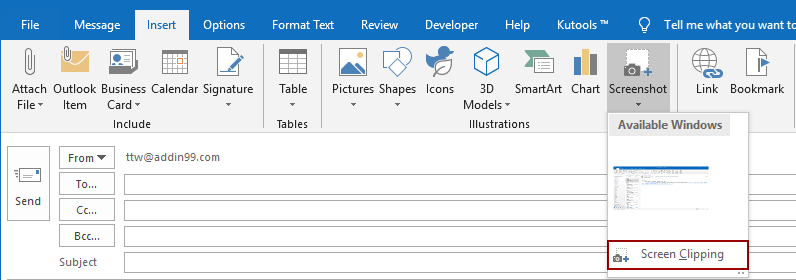
Tips: You can also select one of screenshots from the Screenshot drop-down list to insert it directly.
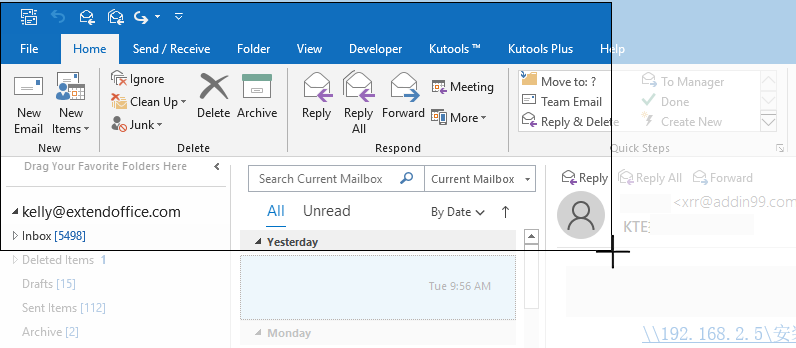
1.3.2 Now a transparent white masking is adding on the screen, and the cursor changes to a cross ![]() . Drag the cross and drop to take a screenshot as you need.
. Drag the cross and drop to take a screenshot as you need.
The screenshot will be inserted in the message body automatically.
2. Adjust a picture
2.1 Change picture at the same position
After inserting a picture in the message body, you might need to change the picture to another one without changing the picture position. Comparing to removing the original picture and inserting another, you can change the picture directly.
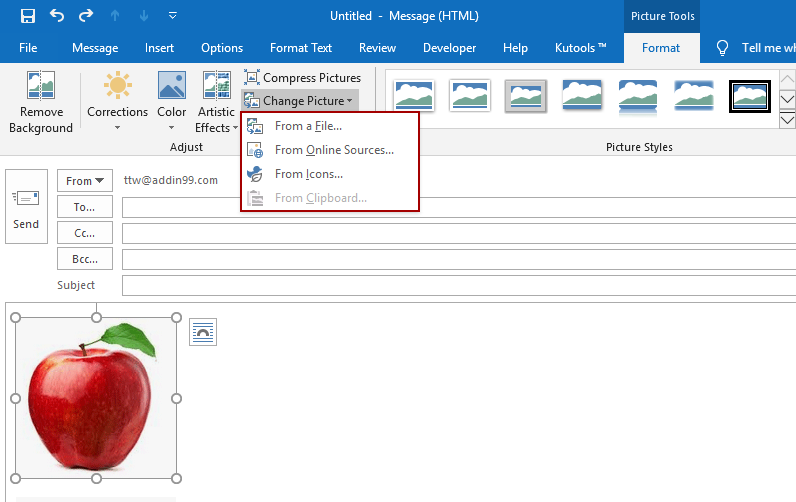
2.1.1 In the message body, select the picture you will change, and then click Format (Picture Tools) > Change Picture, and then select a picture source from the drop-down menu (From a File is selected in my case).
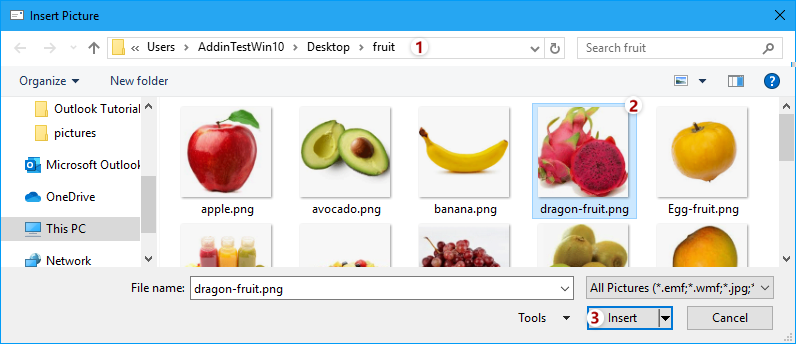
2.1.2 In the popping out Insert Picture dialog, open the folder containing the new picture you will replace with, select the new picture, and then click the Insert button.
Tips: If you selected other picture sources from the Change Picture drop-down list, you can type keywords to search pictures or icons firstly, and then select and insert the new picture.
Now the picture is replaced without changing the picture position.
2.2 Compress picture
In some cases, the inserted picture may be so large that the whole message file size is big. In this situation, we can compress the picture before sending the message.
2.2.1 In the message body, select the picture you will compress, and then click Format (Picture Tools) > Compress Pictures.

2.2.2 In the popping out dialog, check the proper options as you need, and click the OK button.
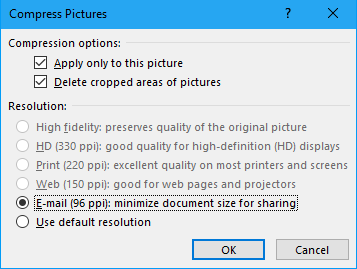
Tips: To reduce file size of the selected picture, we usually check the Delete cropped areas of pictures and E-mail (96 ppi): minimize document size for sharing options.
3. Decorate Pictures
You can add border, shadow, refection, glow, soft edges, etc. for a picture inserted in the message body as you need.
3.1 Change Picture style based on Picture Style Gallery
There are multiple preset styles in the Picture Styles gallery, and we can apply any one of preset styles to a picture easily with clicks.
3.1.1 Select the picture in the message body.
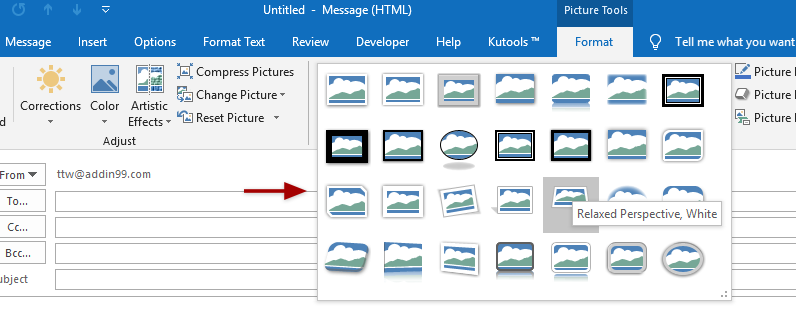
3.1.2 Go to the Picture Styles group on the Format (Picture Tools) tab, click arrow ![]() to expand the style gallery, and then click and apply a preset style to the selected picture.
to expand the style gallery, and then click and apply a preset style to the selected picture.
3.2 Picture Border
You can also add custom borders to a picture in the message body as you need.
3.2.1 Border Color
In the message body, select the picture you will add border for. Then click Format (Picture Tools) > Picture Border, and select a color from the Theme Colors or Standard Colors sections, or click More Outline Colors to pick up a custom color as you need.
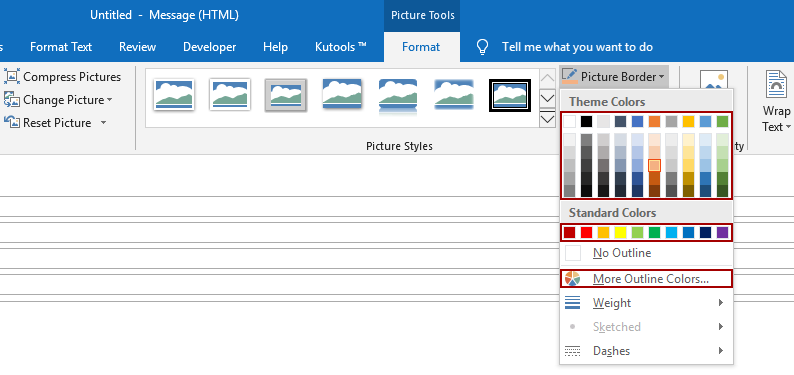
Then a border of the specified color has been added for the selected picture in the message body.
3.2.2 Border Weight
In the message body, select the picture whose border weight you need to change. Next click Format (Picture Tools) > Picture Border > Weight, and pick up a border weight from the submenu.
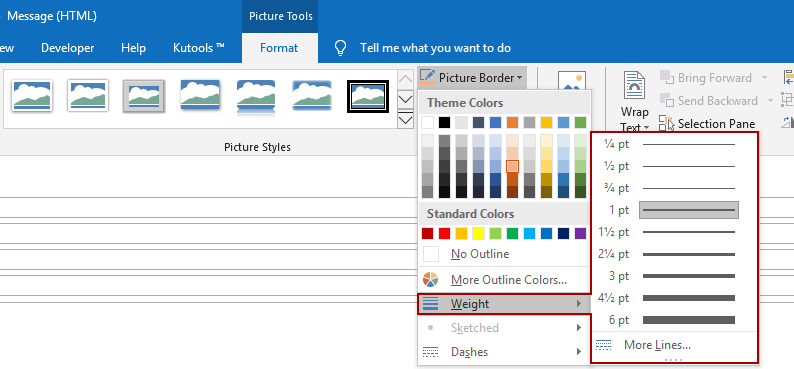
Then the border of the selected picture has been changed to the specified weight.
3.2.3 Dash Type of Border
By default the picture border is solid line. But we can change the solid border to dashes.
In the message body, select the picture whose border you want to change to dashes. Go ahead to to click Format (Picture Tools) > Picture Border > Dashes, and then pick up a dash style from the submenu.
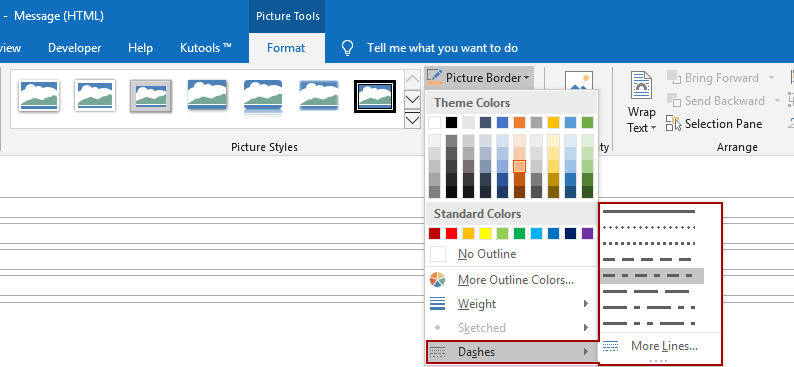
Now the picture border has been changed to dashes.
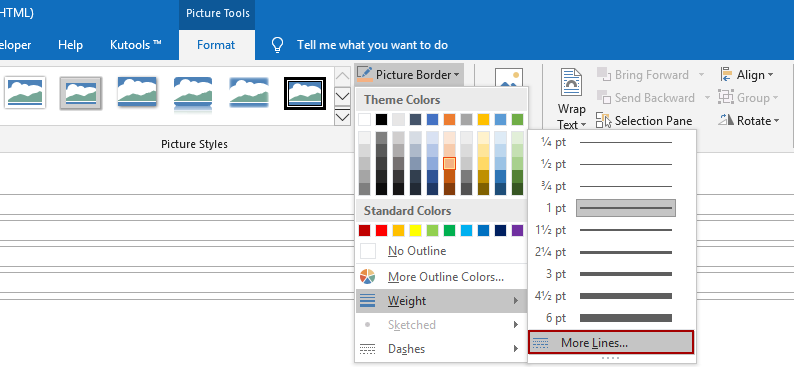
3.2.4 Gradient Border
Normally the picture border are filled with solid color. Actually, Outlook also supports gradient border for pictures in the message body.
3.2.4.1 In the message body, select the picture that you will add a gradient border for.
3.2.4.2 Click Format (Picture Tools) > Picture Border > Weight > More Lines to enable the Format Picture pane.
3.2.4.3 Now the Format Picture pane displays. Go to the Line section on the Fill & Line tab, and then set the gradient border parameters as you need.
- Preset gradients: Select one of preset gradient styles from the drop-down list.
- Type: Specify one of gradient types (linear, radial, rectangular, or path) as you need.
- Direction: Specify the gradient direction.
- Gradient stops: add, remove, and move the gradient stops as you need.
- Color: Set color for the current selected gradient stop.
- Position: Move the current selected gradient stop.
- Transparency: Specify the transparency percentage for the current selected gradient stop.
- Brightness: Specify the brightness percentage for the current selected gradient stop.
- Width: Change the border weight.
- Compound type: Change the border to the specified compound type.
- Dash type: Change the solid border line to dashes.

3.2.5 Remove Picture Border
If you need to remove border for a picture in the message body, please do as follows:
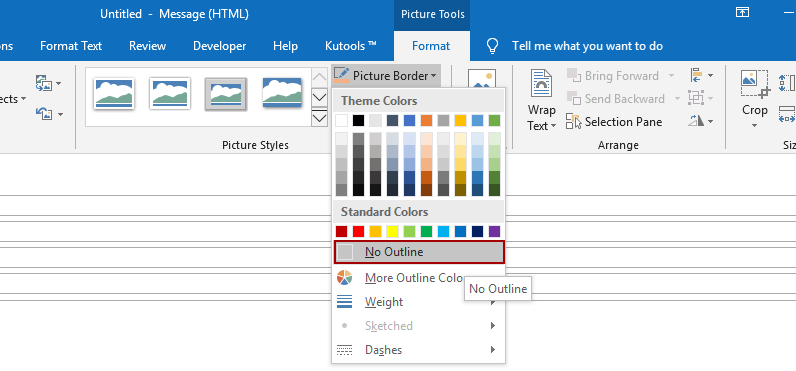
Select the picture in the message body, and then click Format (Picture Tools) > Picture Border > No Outline.
Alternatively, if the Format Picture pane displays, you can check the No line option on the Fill & Line tab to remove the picture border.
3.3 Picture Effects
In most photo-editing application, we can easily add shadow, reflection, glow, soft edge, etc. for photos. Here in Outlook, we can also easily add these effects for pictures inserted in the message body.
3.3.1 Picture Shadow
Select the picture in the message body, click Format (Picture Tools) > Picture Effects > Shadow, and then select one of preset shadow styles in the Outer, Inner, or Perspective sections of the submenu.

Tips: Clicking Format (Picture Tools) > Picture Effects > Shadow > No Shadow will remove existing shadow from the selected picture.
Alternatively, we can also click Format (Picture Tools) > Picture Effects > Shadow > Shadow Options to enable the Format Picture pane, and then specify the shadow parameters as you need on the Effects tab.
Tips: If the selected picture has shadow already, you can remove he shadow by selecting No Shadow from the Presets drop-down list in the Shadow section on the Effects tab.
3.3.2 Picture Reflection
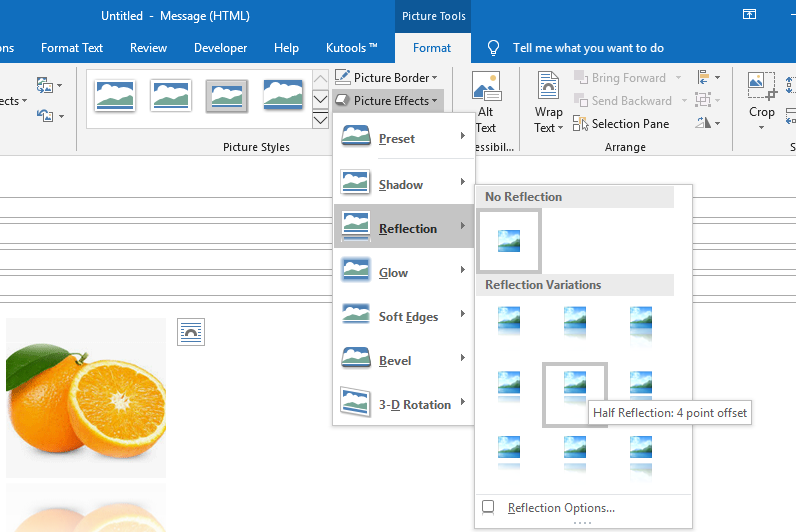
Select the picture you will add reflection effects for in the message body, click Format (Picture Tools) > Picture Effects > Reflection, and then select one of reflection styles in the Reflection Variations section of the submenu.
Tips: Clicking Format (Picture Tools) > Picture Effects > Reflection > No Reflection will remove the reflection effect from the selected picture.
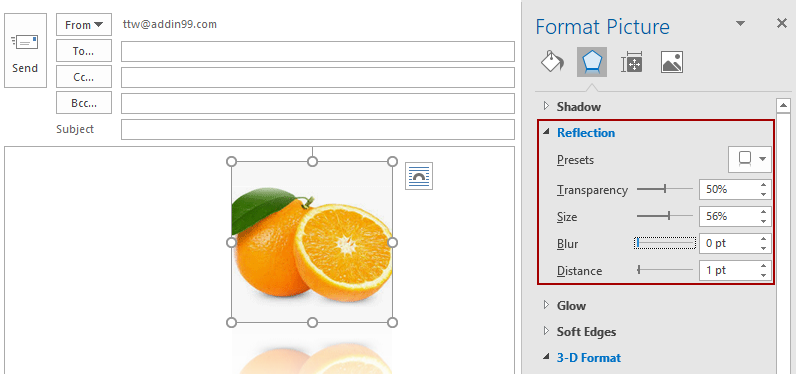
After selecting the picture in the message body, we can also click Format (Picture Tools) > Picture Effects > Reflection > Reflection Options to enable the Format Picture pane, and then configure the custom reflection parameters as we need on the Effects tab.
Tips: If the selected picture has reflections already, we can select No Reflection from the Presets drop-down list in the Refection section on the Effects tab to clear the reflection.
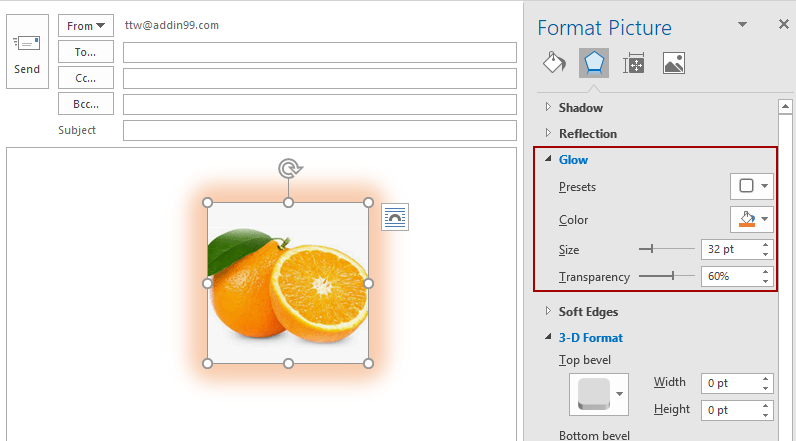
3.3.3 Picture Glow
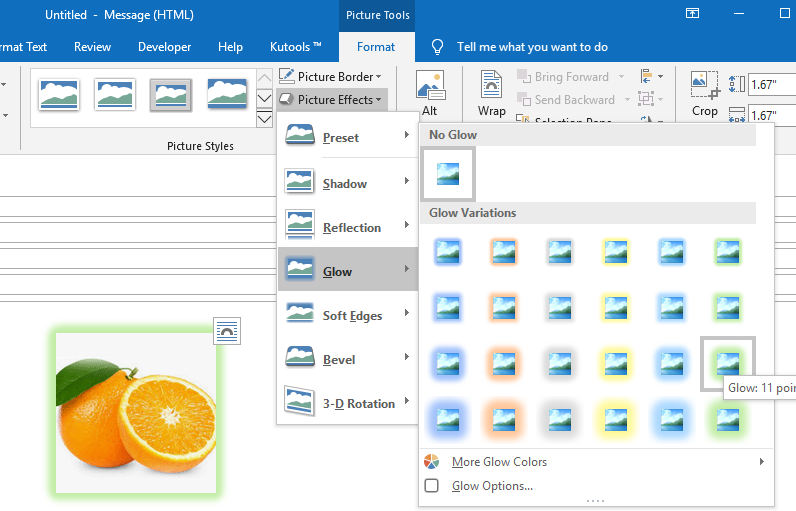
Select the picture you will add glow effects for in the message body, click Format (Picture Tools) > Picture Effects > Glow, and then select one of glow styles in the Glow Variations section of the submenu.
Tips: If the selected picture has been added glow effects already, you can remove the glow effects by clicking Format (Picture Tools) > Picture Effects > Glow > No Glow.
Alternatively, we can also select the picture to enable the Picture Tools, click Format (Picture Tools) > Picture Effects > Glow > Glow Options to enable the Format Picture pane, and then on the Effects tab configure glow parameters to add a custom glow effect.
Tips: If the selected picture has been added glow effects already, you can remove the glow effects by selecting No Glow from the Presets drop-down list in the Glow section on the Effects tab of the Format Picture pane.
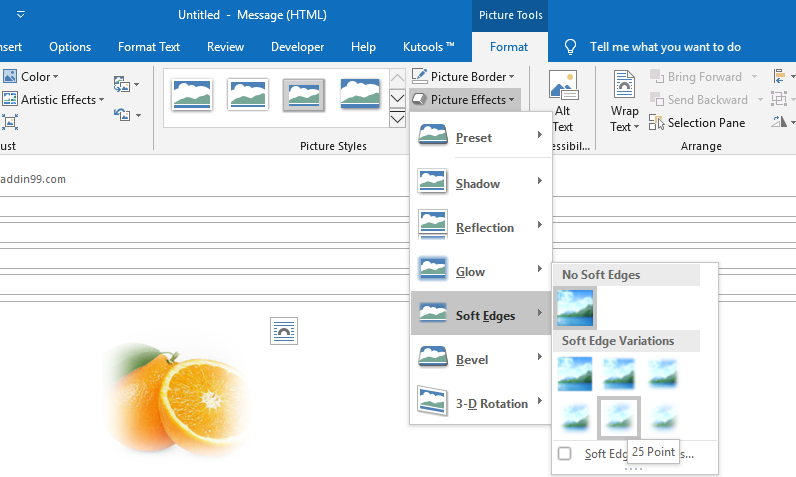
3.3.4 Picture Soft Edges
Select the picture you will add soft edge effects for in the message body, click Format (Picture Tools) > Picture Effects > Soft Edges, and then select one of soft edge styles in the Soft Edge Variations section of the submenu.
Tips: If the soft edge effect has been applied to the selected picture, you can click Format (Picture Tools) > Picture Effects > Soft Edges > No Soft Edges to remove it.
We also can add or remove the soft edge effects from a picture by another way.
Select the picture in the message body, and click Format (Picture Tools) > Picture Effects > Soft Edges > Soft Edges Options to enable the Format Picture pane. Then you can set the soft edge parameter as you need on the Effects tab in the Format Picture pane.
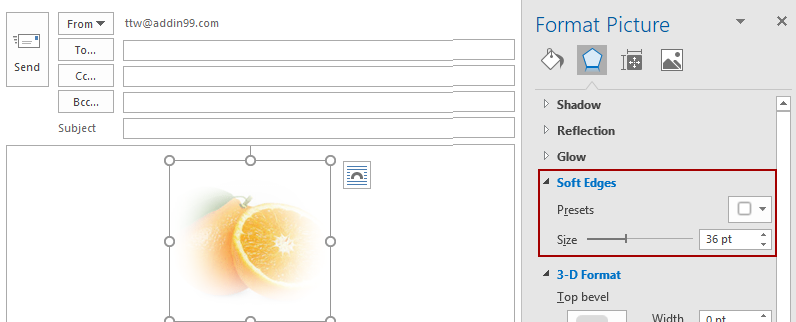
If the selected picture has been added soft edge effect already, you can select No Soft Edges from the Presets drop-down list in the Soft Edges section on the Effects tab in the Format Picture pane.
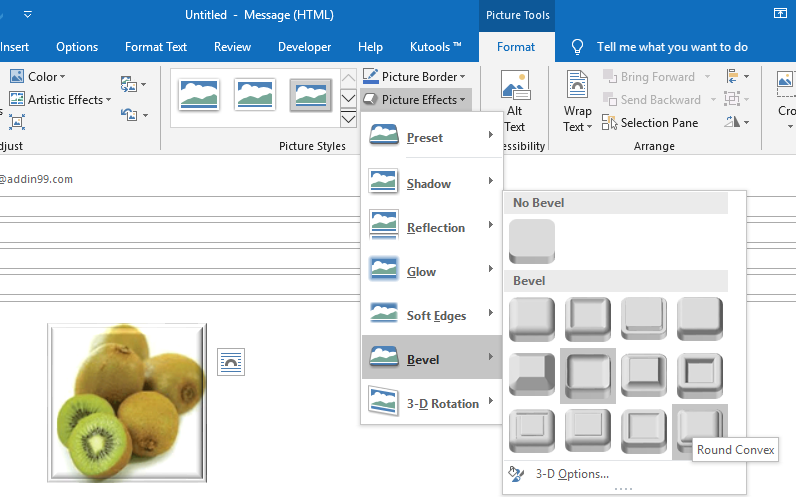
3.3.5 Picture Bevel
Select the picture you will add bevel effects for in the message body, click Format (Picture Tools) > Picture Effects > Bevel, and then pick up a bevel effect in the submenu.
Tips: Clicking Format (Picture Tools) > Picture Effects > Bevel > No Bevel will remove all bevel effects from the selected picture.
You can also add, change, or remove the bevel effects with the Format Picture pane.
Select the picture in the message body, and click Format (Picture Tools) > Picture Effects > Bevel > 3-D Options to enable the Format Picture pane. In the Format Picture pane, under the Effects tab, you can configure the custom bevel parameters as you need.
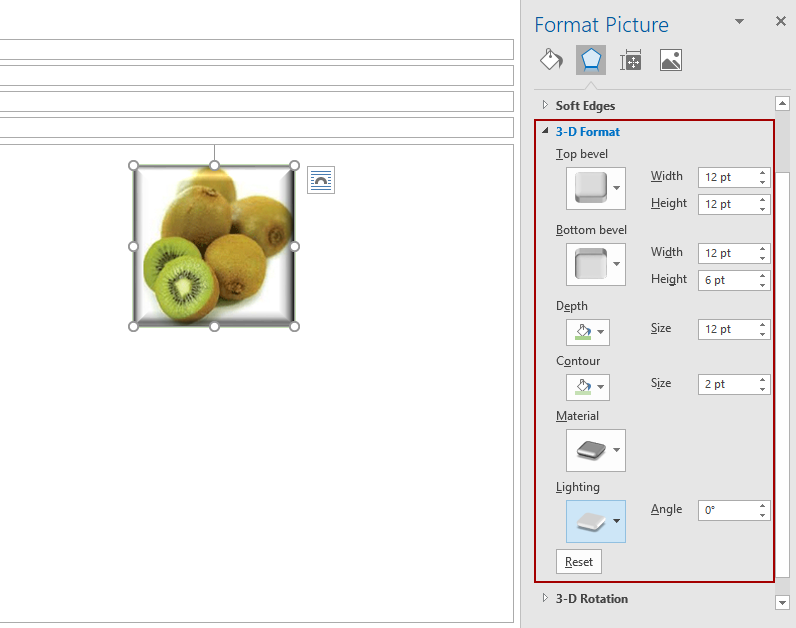
Clicking the Reset button in the 3-D Format section (on the Effects tab of the Format Picture pane) will remove all bevel effects from the selected picture.
3.3.6 3-D Rotation
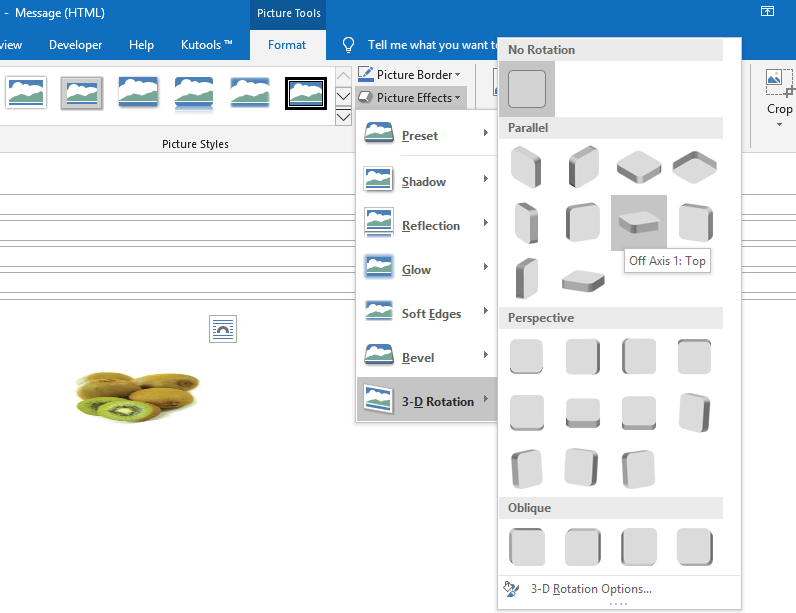
Select the picture you want to add 3-d rotation effects for in the message body, and click Format (Picture Tools) > Picture Effects > 3-D Rotation, and then select a 3-d rotation effect in the Parallel, Perspective, or Oblique sections of the submenu.
Clicking Format (Picture Tools) > Picture Effects > 3-D Rotation > No Rotation will remove all 3-d rotation effects from the selected picture.
Alternatively, we can also add, format, or delete 3-d rotation effects within the Format Picture pane.
Select the picture in the message body, and click Format (Picture Tools) > Picture Effects > 3-D Rotation > 3-D Rotation Options to enable the Format Picture pane. In the Format Picture pane, on the Effects tab, you can configure the 3-d rotation parameters as you need.
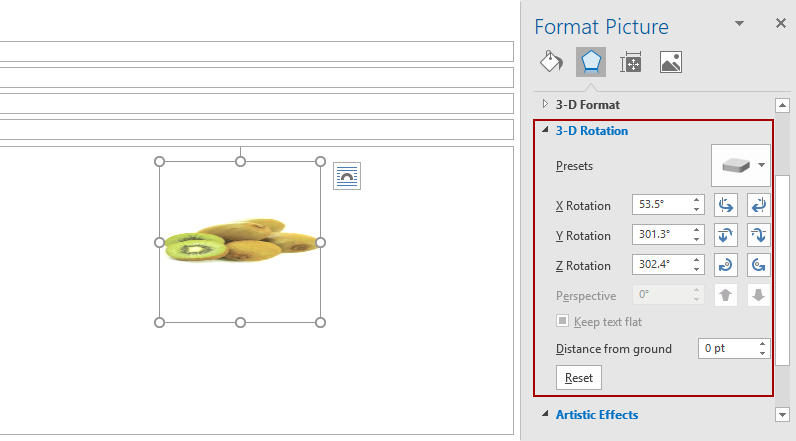
By the way, click the Reset button in the 3-D Rotation section in the Format Picture pane will remove all 3-d rotation effects from the selected picture.
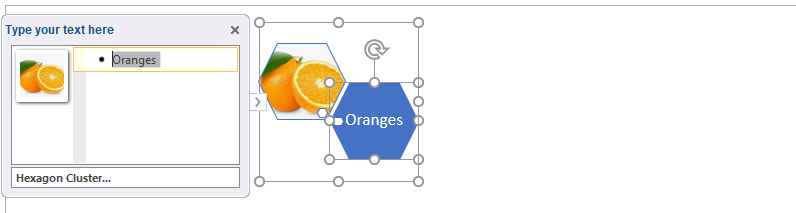
3.4 Convert pictures to SmartArt graphic
In general, pictures are rectangles and show as rectangles in the message body too. Here, with the Picture Layout feature, we can show the inserted pictures in different shapes, and add text for the pictures too. In other words, it can convert the inserted picture to a SmartArt graphic.
Select the picture you will convert to SmartArt in the message body, and then click Format (Picture Tools) > Picture Layout, and then pick up one SmartArt from the drop-down list.
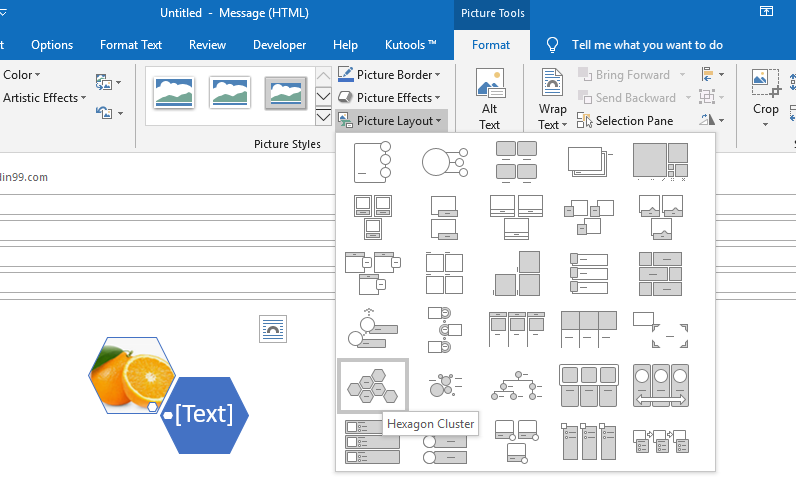
Now the selected picture is converted to a SmartArt, add or edit the text as you need.
4. Add Alternative Text for a Picture
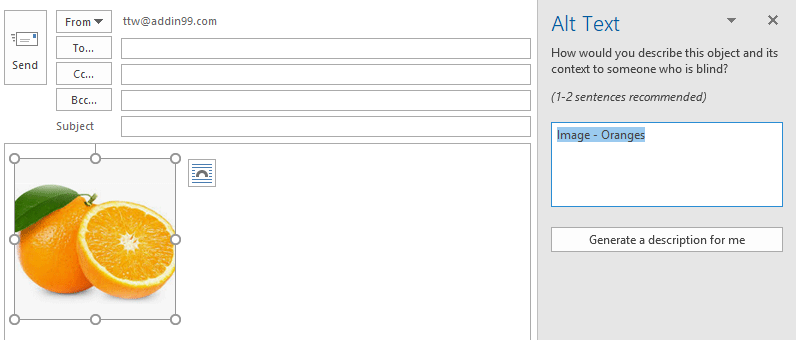
Most of us create emails in HTML format, and our recipients might read the emails on webpages. However, in some cases, the inserted pictures could not be download in recipients’ devices. Therefore, we need to add alternative text to the pictures for those who cannot view the pictures.
4.1 In the message body, select the picture you need to add alternative text for.
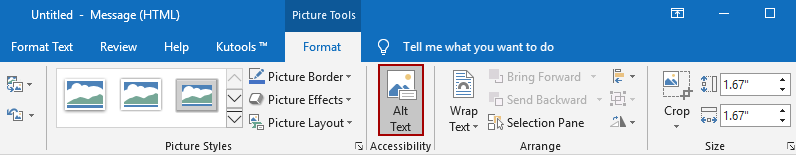
4.2 Click Format (Picture Tools) > Alt Text to enable the Alt Text pane.
4.3 In the Alt Text pane, type the alternative text in the textbox as you need.
So far, we have added the alternative text for the selected picture. If necessary, we can add alternative text for multiple inserted pictures one by one.
5. Insert Caption for a picture
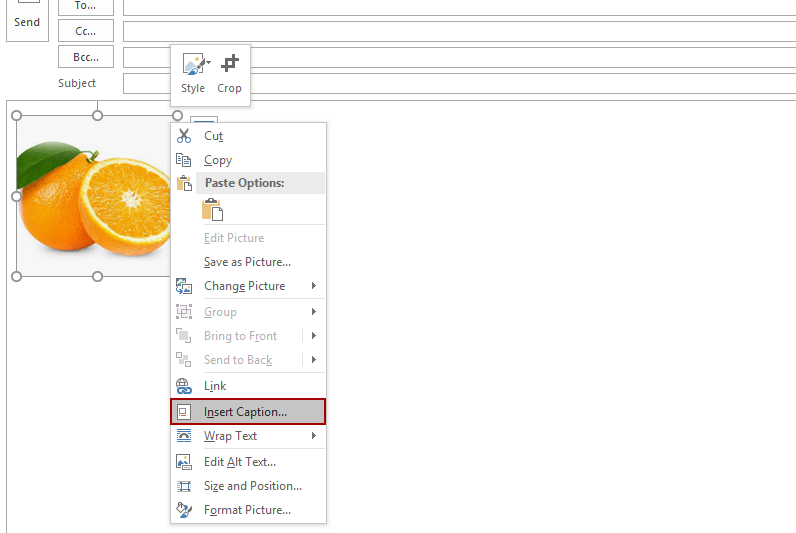
We can also add caption for a picture in the message body too.
5.1 In the message body, right click the specified picture, and select Insert Caption from the context menu.
5.2 In the Caption dialog, specify the caption label and caption position as you need, and set caption numbering if necessary.
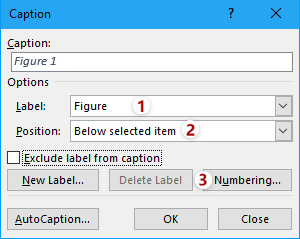
5.3 Click the OK button to save the settings.
Now the caption is added for the selected picture in the message body.
6. Add link for a picture
Some Outlook users would like to add links to pictures, so that their recipients can click the big pictures to visit certain webpages, documents, or jump to a certain position, etc.
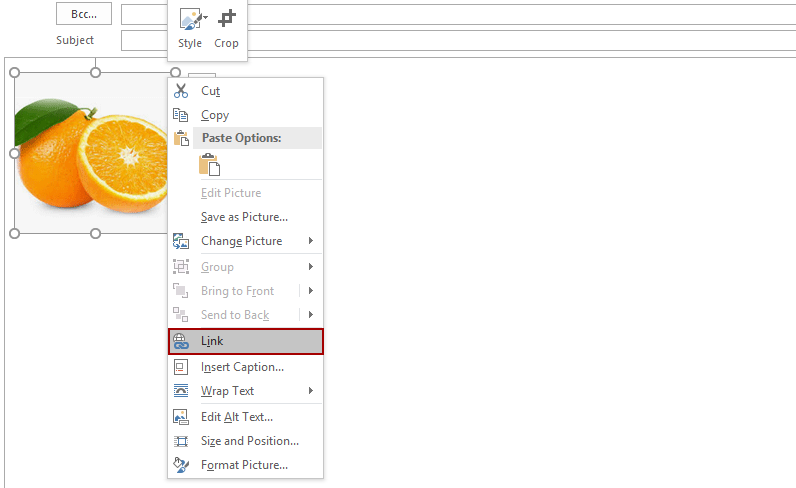
6.1 In the message body, right click the picture you will add a link for, and select Link from the context menu.
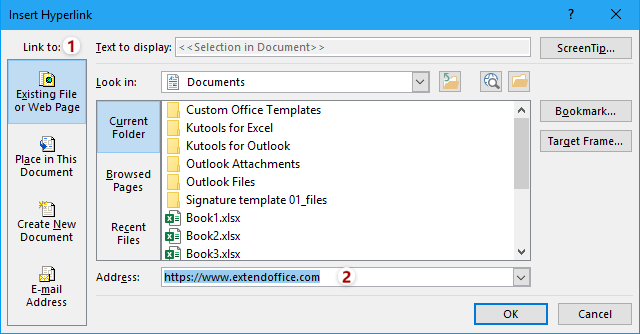
6.2 In the Insert Hyperlink dialog, select Existing File or Web Page in the Link to section, type in the webpage address in the Address box.
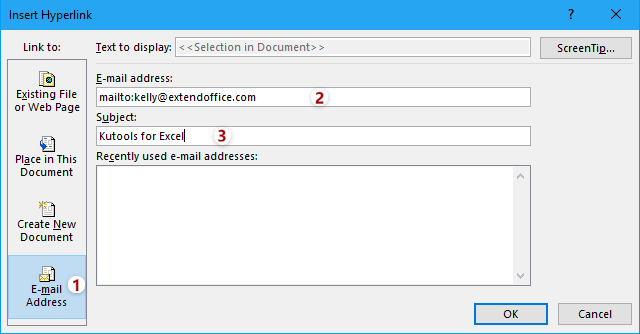
Tips: If you need to add a mailto link for the selected picture, please set as follows: select E-mail Address in the Link to section, type in your email address in the E-mail address box, preset a subject in the Subject box.
6.3 Click the OK button.
So far, we have added a webpage link or mailto link to the specified picture in the message body.
7. Wrap Text
Most of time, we insert pictures around text in the message body. We can format the picture to decide how text wraps around the picture.
Select the picture in the message body, click Format (Picture Tools) > Wrap Text, and then select one of wrapping types from the drop-down list.
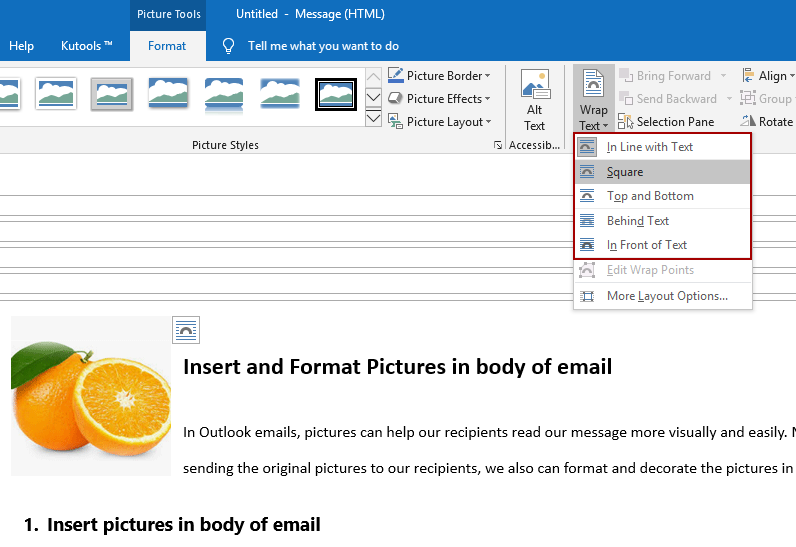
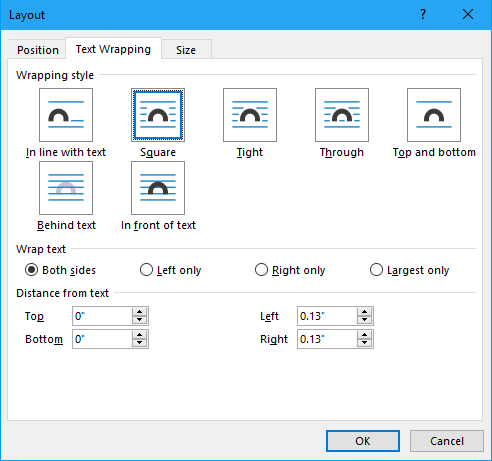
You can also click Format (Picture Tools) > Wrap Text > More Layout Options to open the Layout dialog, and then specify the wrapping style, wrap text, and distance from text on the Text Wrapping tab.
8. Rotate a picture
In the message body, click to select the picture you will rotate, place the cursor over the rotate mark, drag the mouse when it changes to  , and then release the mouse when the picture is rotated to the proper angle.
You can also click to select the picture in the message body, click Format (Picture Tools) > Rotate, and then select a rotate type from the drop-down list.
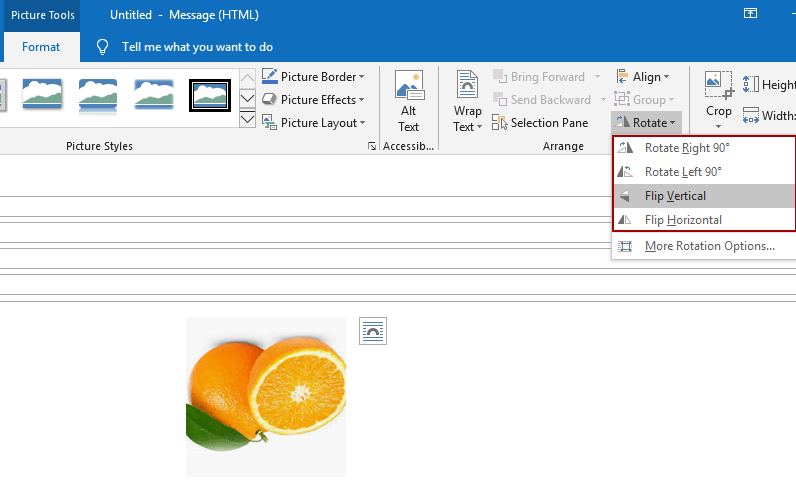
The Rotate drop-down list only supports 4 types of rotation angles. To rotate by a custom angle, we can click Format (Picture Tools) > Rotate > More Rotation Options to open the Layout dialog, then type in a custom degree in the Rotation box, and click the OK button.
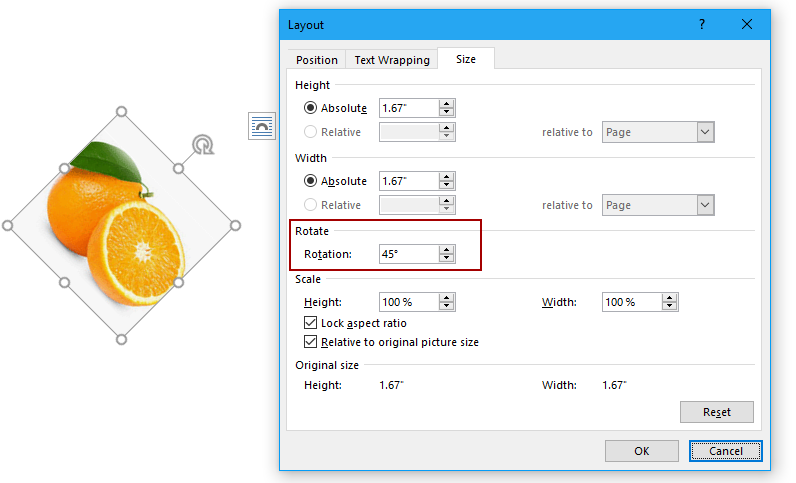
By the way, to change the rotated picture to normal, we can specify the rotation degree as 0 in the Layout dialog.
9. Resize a picture
Sometimes, the width or height of inserted picture may be not fit with message content. We can resize the inserted picture with below methods.
9.1 Crop a picture
We can easily resize a picture by cropping in Outlook.
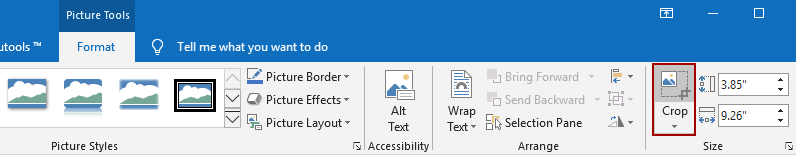
9.1.1 In the message body, select the picture you will crop, click Format (Picture Tools) > Crop.
9.1.2 Now the cropping lines and cropping marks are added at the edges of the picture. Move mouse over one of cropping mark, drag the mouse when it changes to ![]() , and release the mouse when cropping line is moved to the proper position.
, and release the mouse when cropping line is moved to the proper position.
This will crop one side of the selected picture at a time. If necessary, crop other sides one by one as you need.
9.1.3 After cropping lines are moved to the proper positions, press Enter key to crop.
Tips:
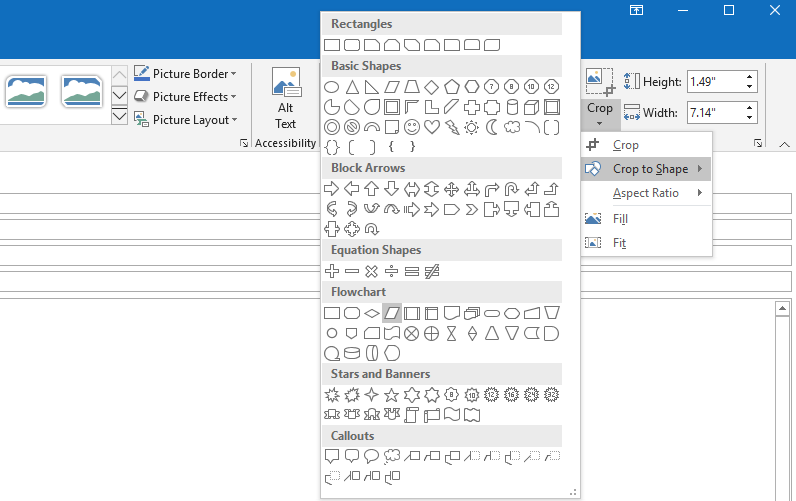
(1) If we need to crop a picture based on a shape, you can select the picture in the message body, and then click Format (Picture Tools) > Crop > Crop to Shape, and then pick up a shape from the submenu.
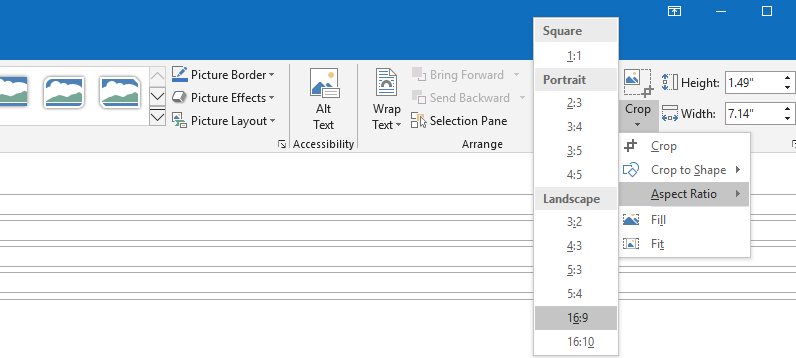
(2) We also can crop a picture to aspect ratio by selecting the picture in the message body, clicking Format (Picture Tools) > Crop > Aspect Ratio, and then picking up a ratio from the submenu.
9.2 Change width or height of a picture
We can resize a picture to specified width and height directly in Outlook.
Select the picture we will resize in the message body, go to the Size group on the Format (Picture Tools) tab, and then type in the specified width or height in the proper boxes.

9.3 Resize a picture by percentage
If you are not sure the picture width or height that you will resize the picture to, you can resize the picture by percentage.
9.3.1 Select the picture you will resize in the message body.
9.3.2 Click ![]() at the bottom-right corner of the Size group on the Format (PictureTools) tab to enable the Layout dialog.
at the bottom-right corner of the Size group on the Format (PictureTools) tab to enable the Layout dialog.

9.3.3 In the Layout dialog, on the Size tab, type the proper percentage in the Height or Width box that you will resize the picture to.
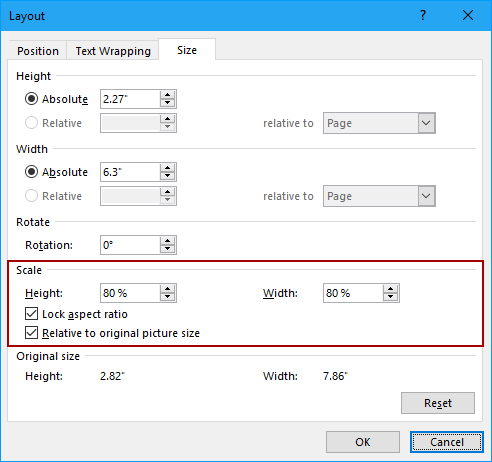
9.3.4 Click the OK button.
Then the selected picture is resized by the specified percentage.
More articles ...
Best Office Productivity Tools
Experience the all-new Kutools for Outlook with 100+ incredible features! Click to download now!
📧 Email Automation: Auto Reply (Available for POP and IMAP) / Schedule Send Emails / Auto CC/BCC by Rules When Sending Email / Auto Forward (Advanced Rules) / Auto Add Greeting / Automatically Split Multi-Recipient Emails into Individual Messages ...
📨 Email Management: Recall Emails / Block Scam Emails by Subjects and Others / Delete Duplicate Emails / Advanced Search / Consolidate Folders ...
📁 Attachments Pro: Batch Save / Batch Detach / Batch Compress / Auto Save / Auto Detach / Auto Compress ...
🌟 Interface Magic: 😊More Pretty and Cool Emojis / Remind you when important emails come / Minimize Outlook Instead of Closing ...
👍 One-click Wonders: Reply All with Attachments / Anti-Phishing Emails / 🕘Show Sender's Time Zone ...
👩🏼🤝👩🏻 Contacts & Calendar: Batch Add Contacts From Selected Emails / Split a Contact Group to Individual Groups / Remove Birthday Reminders ...
Use Kutools in your preferred language – supports English, Spanish, German, French, Chinese, and 40+ others!


🚀 One-Click Download — Get All Office Add-ins
Strongly Recommended: Kutools for Office (5-in-1)
One click to download five installers at once — Kutools for Excel, Outlook, Word, PowerPoint and Office Tab Pro. Click to download now!
- ✅ One-click convenience: Download all five setup packages in a single action.
- 🚀 Ready for any Office task: Install the add-ins you need, when you need them.
- 🧰 Included: Kutools for Excel / Kutools for Outlook / Kutools for Word / Office Tab Pro / Kutools for PowerPoint