How to create a meeting with voting buttons in Outlook?
Generally speaking, it’s easy to send emails with voting buttons in Outlook. However, have you ever tried to send a meeting with voting buttons in Outlook? Actually, Outlook meetings do not support voting buttons. However, this article will introduce a workaround to get it done.
Create a meeting with voting buttons in Outlook
Create a meeting with voting buttons in Outlook
Please follow below steps to send a meeting with voting buttons in Outlook.
1. Open the specified calendar folder, and click Home > New Meeting to create a new meeting.
2. In the new meeting window, please invite attendees, specify subject/location/meeting time, etc. and then click File > Save As.
3. In the Save As dialog box, please specify the destination folder, and click the Save button. See screenshot:
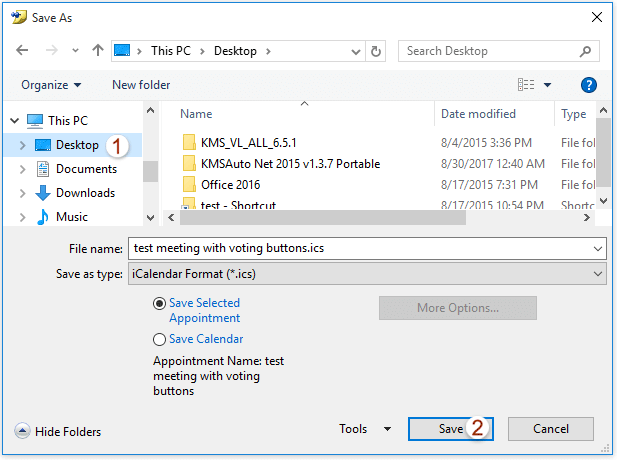
Note: By default, the meeting will be named with its subject automatically. It’s not recommended to rename it.
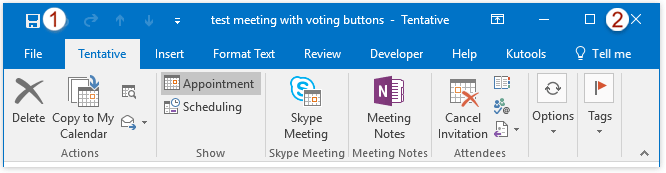
4. Click the Save button and Close button successively in the meeting window. See screenshot:
5. Shift to the Mail view, and click Home > New Email to create a new email.
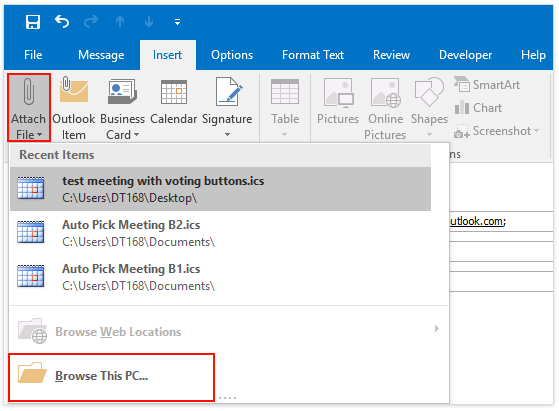
6. In the new email, please add all meeting attendees as recipients, add the same subject as meeting subject, and then click Insert > Attach File > Browse This PC. See screenshot:
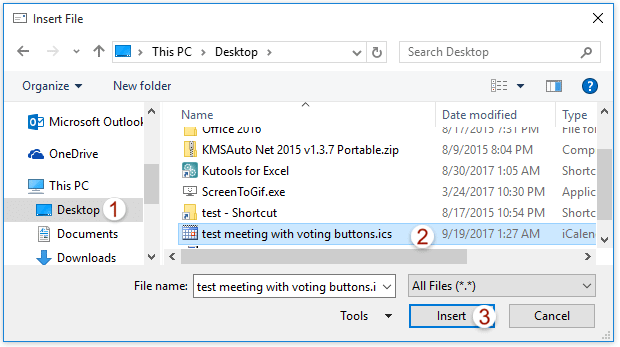
7. In the Insert File dialog box, please open the folder you saved the meeting, select the .ics file, and click the Insert button. See screenshot:
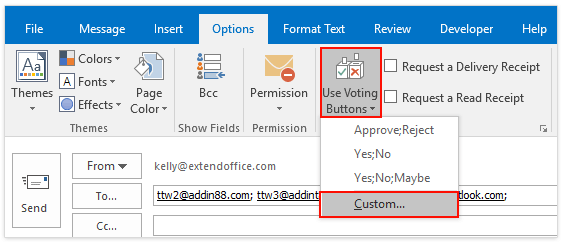
8. Now you return to the message window, please click Options > Use Voting Buttons > Custom. See screenshot:
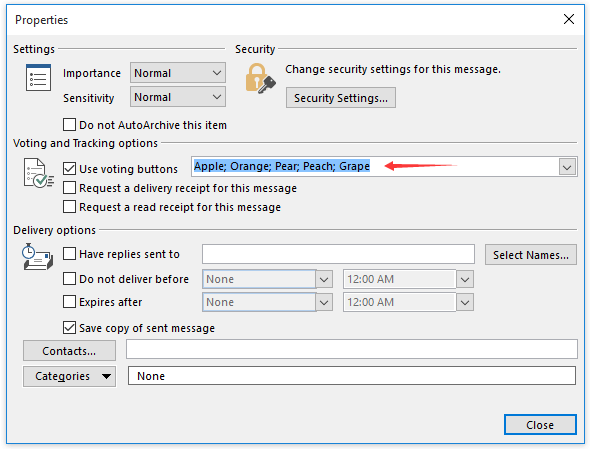
9. In the Properties dialog box, please add your voting choices in the Use voting buttons box (tip: Please separate each choice with a semicolon), and click the Close button. See screenshot:
10. Please click the Send button.
So far, you have sent an email with voting buttons and attached the meeting as an attachment.
Note: When you recipients receive this email, they can respond the meeting as follows:
(1) Click to preview the specified email in the Reading Pane, you can respond to the voting button as you need, then double-click to open the attachment of meeting.
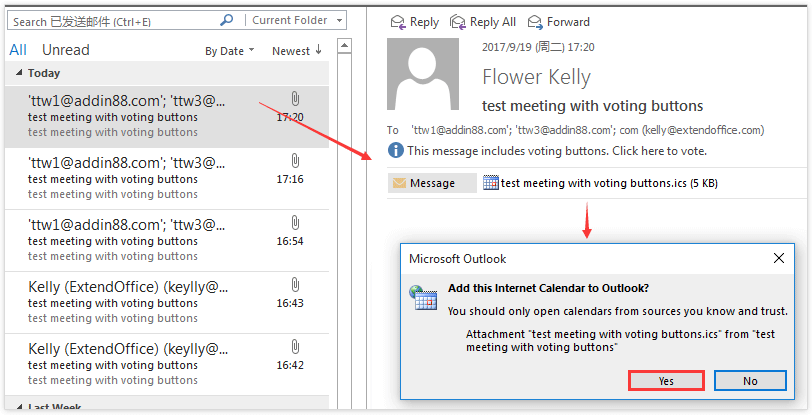
(2) In the popping out Microsoft Outlook dialog box, please click the Yes button.
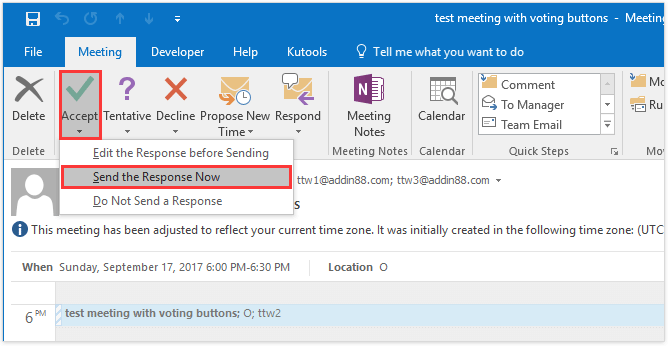
(3) Now the meeting is opening, please respond the meeting by clicking buttons in the Respond group on the Meeting tab. See screenshot:
Quickly insert clickable checkbox controls or checkbox marks into email messages in Outlook
Normally we insert checkable checkbox controls by clicking Developer > Design This Form > Control Toolbox > Checkbox in the Message window, or insert checkbox symbols by clicking Insert > Symbols. But, with Kutools for Outlook's fantastic Auto Text feature, you can easily insert checkbox controls or checkbox symbols with just a double-click.

Related Articles
Best Office Productivity Tools
Kutools for Outlook - Over 100 Powerful Features to Supercharge Your Outlook
🤖 AI Mail Assistant: Instant pro emails with AI magic--one-click to genius replies, perfect tone, multilingual mastery. Transform emailing effortlessly! ...
📧 Email Automation: Out of Office (Available for POP and IMAP) / Schedule Send Emails / Auto CC/BCC by Rules When Sending Email / Auto Forward (Advanced Rules) / Auto Add Greeting / Automatically Split Multi-Recipient Emails into Individual Messages ...
📨 Email Management: Easily Recall Emails / Block Scam Emails by Subjects and Others / Delete Duplicate Emails / Advanced Search / Consolidate Folders ...
📁 Attachments Pro: Batch Save / Batch Detach / Batch Compress / Auto Save / Auto Detach / Auto Compress ...
🌟 Interface Magic: 😊More Pretty and Cool Emojis / Boost Your Outlook Productivity with Tabbed Views / Minimize Outlook Instead of Closing ...
👍 One-click Wonders: Reply All with Incoming Attachments / Anti-Phishing Emails / 🕘Show Sender's Time Zone ...
👩🏼🤝👩🏻 Contacts & Calendar: Batch Add Contacts From Selected Emails / Split a Contact Group to Individual Groups / Remove Birthday Reminders ...
Over 100 Features Await Your Exploration! Click Here to Discover More.

