How to change archive (.pst) file’s location in Outlook?
As you know, you can archive emails, appointments, or tasks to the archive file manually or automatically in Outlook. However, do you know where the archive file is saved, and how could you change the archive file’s location in Outlook? Below solutions will help you get it easily:
Change default archive file’s location in Outlook
This section is talking about changing the default archive file’s location in Outlook. Please do as follows:
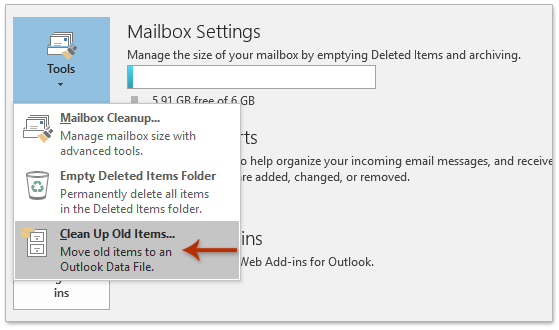
1. Click File > Info > Tools (or Cleanup Tools) > Clean Up Older Items (or Archive) to open the Archive dialog box.
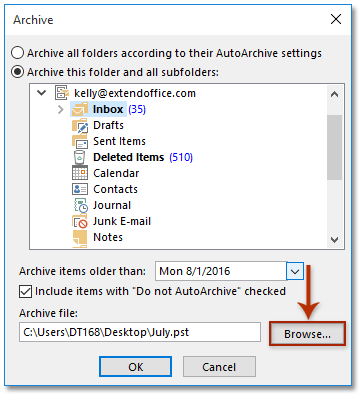
2. Now the Archive dialog box comes out. Click the Browse button in it.
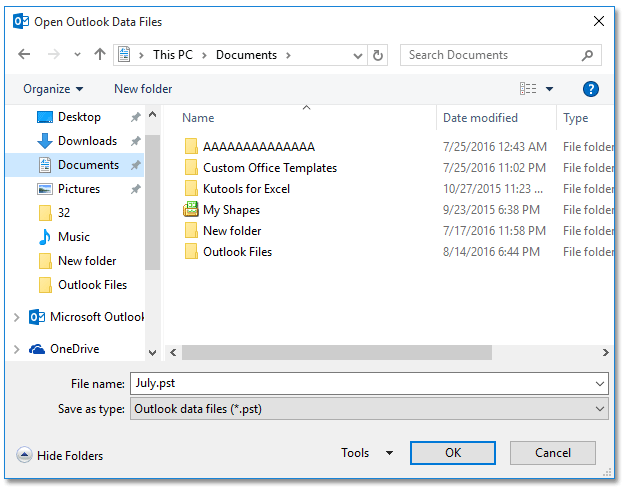
3. In the popping out Open Outlook Data Files dialog box, please specify the new folder you will save the default archive file into, and click the OK button.
4. Click the OK button in the Archive dialog box.
And now the default archive file’s location is changed to the new specified folder.
Batch save multiple emails to hard disk as text/PDF/HTML/CSV files in Outlook
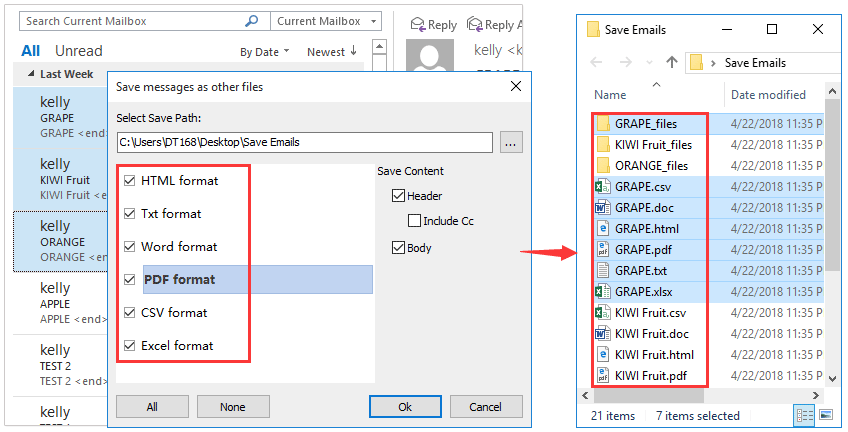
Normally we can export/save an email message as a text file with the Save As feature in Outlook. But, for batch saving/exporting multiple emails to individual text files, you have to manually handle each message one by one. Time-consuming! Tedious! Now, Kutools for Outlook's Bulk Save feature can help you quickly save multiple email messages to individual text files, PDF files, HTML files, etc. with only one click!
Change auto archive file’s location in Outlook
Apart from manually archiving emails, you can also configure auto archive settings from a certain folder in Outlook. And this section is talking about changing a certain folder’s auto archive file location in Outlook. Please do as follows:
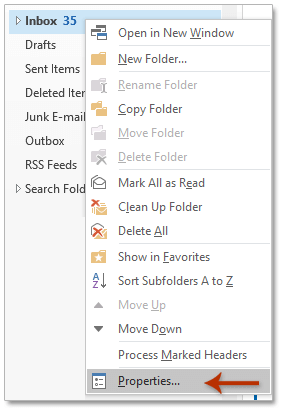
1. In the Navigation pane, right click the folder you will configure the auto archive settings, and select Properties from the right-clicking menu. See screenshot:
2. In the opening Properties dialog box, go to the AutoArchive tab, and:
(1) Check both the Archive this folder using these settings option and Move older items to option;
(2) Click the Browse button. See screenshot:
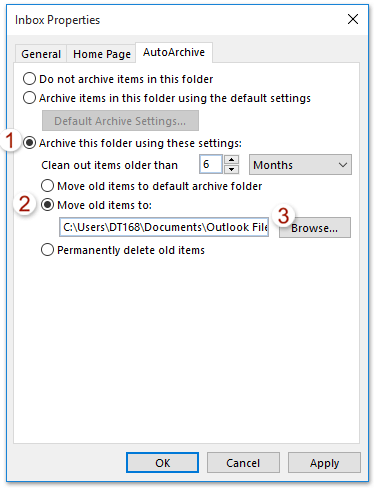
3. In the Open Outlook Data Files dialog box, please specify the folder you will save the auto archive file into, and click the OK button.
4. Click the OK button in the Properties dialog box.
And now the certain folder’s auto archive file location is changed to the new folder.
strong> Related Articles
Archive emails by received/modified date in Outlook
Access archived emails in Outlook
Best Office Productivity Tools
Experience the all-new Kutools for Outlook with 100+ incredible features! Click to download now!
📧 Email Automation: Auto Reply (Available for POP and IMAP) / Schedule Send Emails / Auto CC/BCC by Rules When Sending Email / Auto Forward (Advanced Rules) / Auto Add Greeting / Automatically Split Multi-Recipient Emails into Individual Messages ...
📨 Email Management: Recall Emails / Block Scam Emails by Subjects and Others / Delete Duplicate Emails / Advanced Search / Consolidate Folders ...
📁 Attachments Pro: Batch Save / Batch Detach / Batch Compress / Auto Save / Auto Detach / Auto Compress ...
🌟 Interface Magic: 😊More Pretty and Cool Emojis / Remind you when important emails come / Minimize Outlook Instead of Closing ...
👍 One-click Wonders: Reply All with Attachments / Anti-Phishing Emails / 🕘Show Sender's Time Zone ...
👩🏼🤝👩🏻 Contacts & Calendar: Batch Add Contacts From Selected Emails / Split a Contact Group to Individual Groups / Remove Birthday Reminders ...
Use Kutools in your preferred language – supports English, Spanish, German, French, Chinese, and 40+ others!


🚀 One-Click Download — Get All Office Add-ins
Strongly Recommended: Kutools for Office (5-in-1)
One click to download five installers at once — Kutools for Excel, Outlook, Word, PowerPoint and Office Tab Pro. Click to download now!
- ✅ One-click convenience: Download all five setup packages in a single action.
- 🚀 Ready for any Office task: Install the add-ins you need, when you need them.
- 🧰 Included: Kutools for Excel / Kutools for Outlook / Kutools for Word / Office Tab Pro / Kutools for PowerPoint