Email theme or stationery in Outlook
In Microsoft Word, we usually apply templates to create documents in different styles. Similarly, we can also create emails in a variety of styles by applying email themes or stationeries in Outlook. No matter to use an email stationery in a single new email, or to automatically apply the default stationery to all new emails, or replies and forwards, Outlook provides easy solutions to get all done.
- Apply an email theme or stationery to a single new email
- Apply default email theme or stationery to all new emails
- Apply default email theme or stationery to all replies or forwards
- Create a new email theme or stationery
- Import email themes or stationeries (HTML files) to Outlook
- Turn off the default email theme or stationery
Note: Methods introduced on this page apply to Microsoft Outlook 2019 desktop program in Windows 10. And the instructions may vary significantly or slightly depending on the version of Microsoft Outlook and the Windows environments.
Apply an email theme or stationery to a single new email
There are dozens of preset email themes in Outlook, and you can easily apply any one of them to a new email as follows:
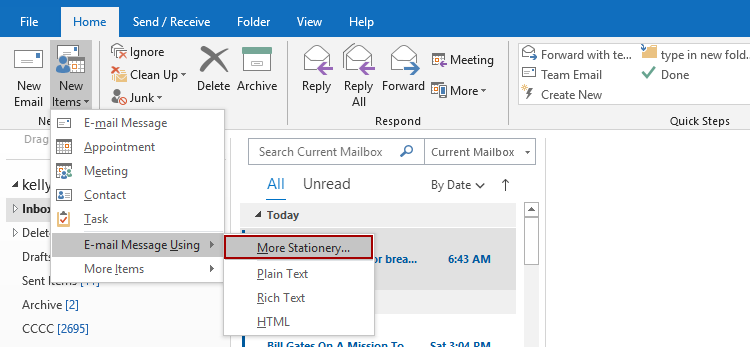
1. In the Mail view, click Home > New Items > E-mail Message Using > More Stationery to enable the Theme or Stationery dialog.
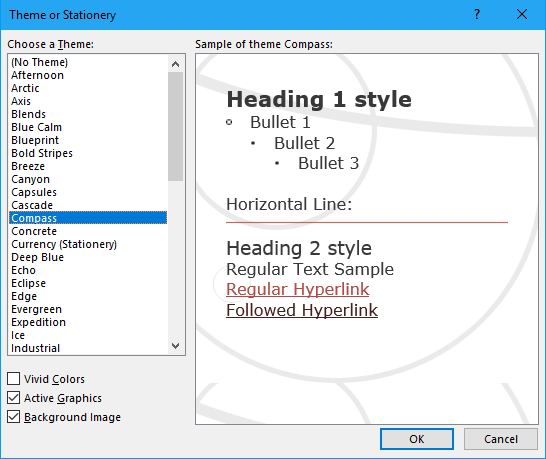
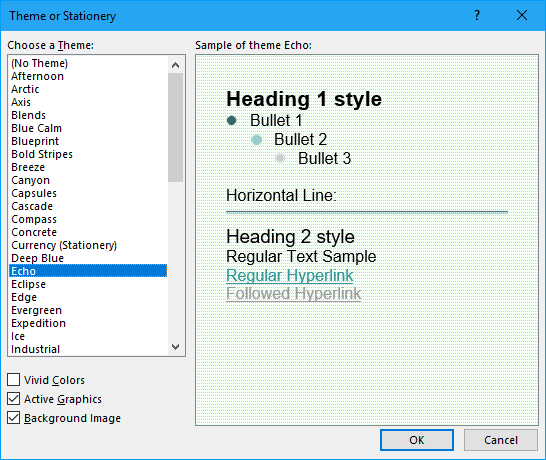
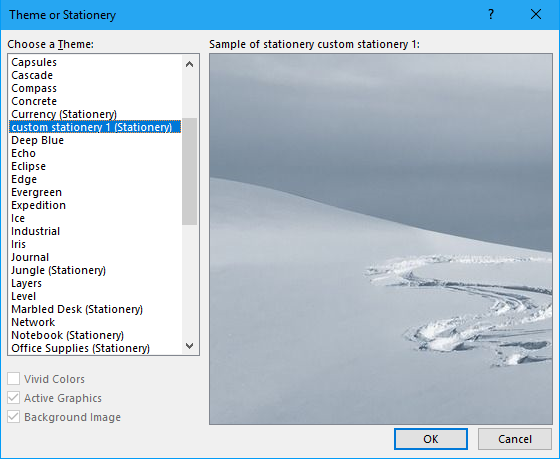
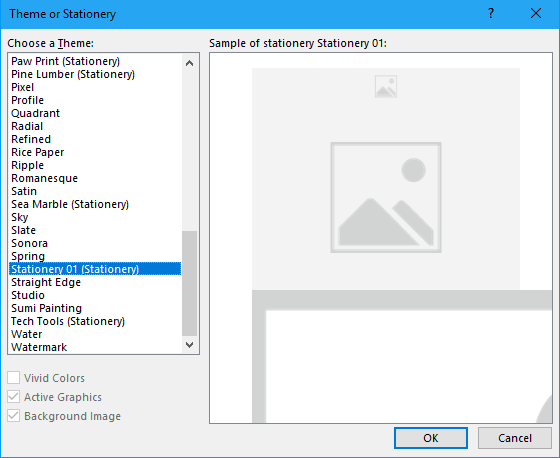
2. In the Theme or Stationery dialog, click to select a stationery in the Choose a Theme list box, and click the OK button.
Tips:
(1) Vivid Colors: This option will change some font colors and make them more eye-catching.
(2) Active Graphics: This option will show some inline pictures, such as horizontal line image, bullet images, etc.
(3) Background Image: If the selected stationery contains background image, you can turn this option off to remove the background image from the new created email. However, this option will not clear the background color from the new email.
3. Now the new email with the specified stationery is created.
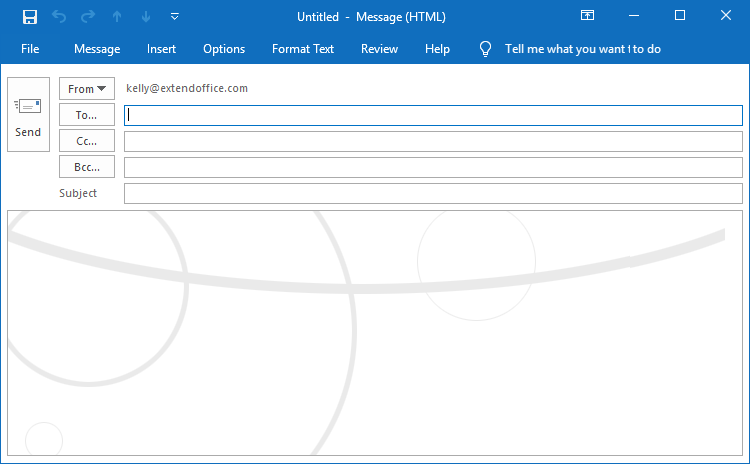
When you type words, set headings, hyperlinks, and bullets in the message body, they will follow the preset styles of the specified stationery automatically.
Apply default email theme or stationery to all new emails
If you need to always apply the same theme or stationery to all new emails in Outlook, you can enable the default the email theme in Outlook.
1. Click File > Options to enable the Outlook Options dialog.
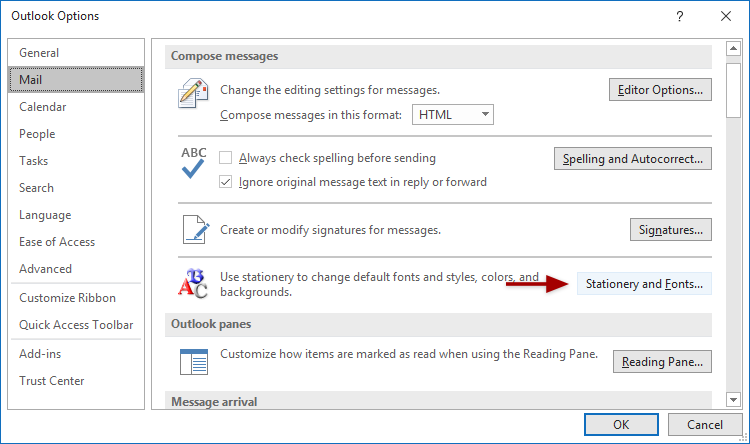
2. In the Outlook Options dialog, enable Mail in the left bar, and then click the Stationery and Fonts button in the Compose messages section.
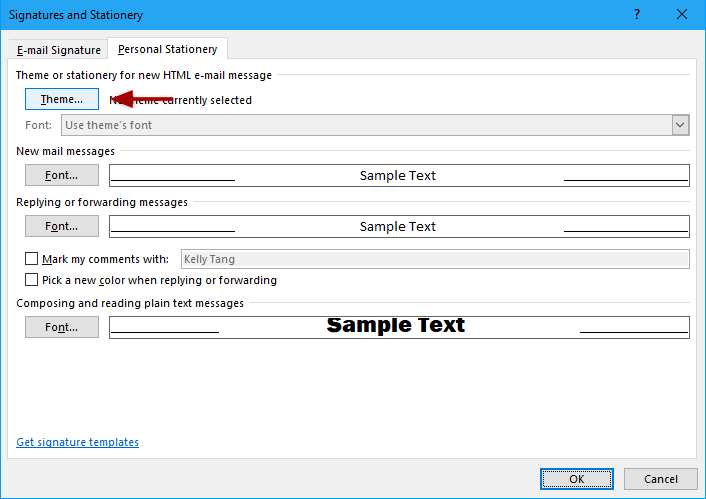
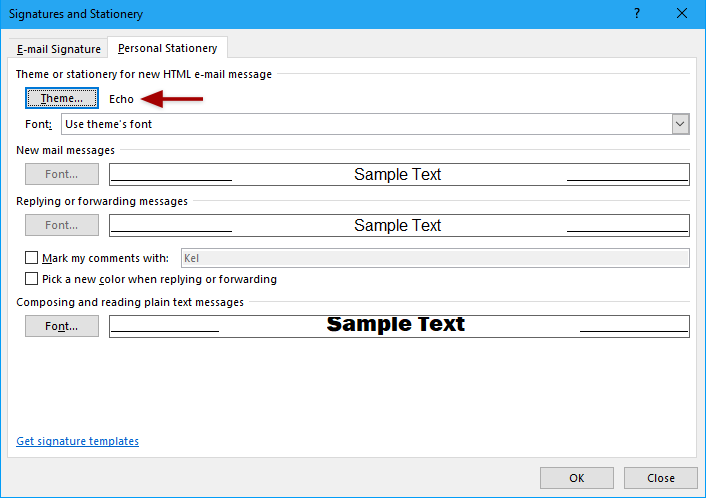
3. In the Signatures and Stationery dialog, under the Personal Stationery tab, click the Theme button.
4. In the Theme or Stationery dialog, click to select a stationery in the Choose a Theme list box, and click the OK button.
Tips:
(1) Vivid Colors: This option will change some font colors and make them more eye-catching.
(2) Active Graphics: This option will show some inline pictures, such as horizontal line image, bullet images, etc.
(3) Background Image: If the selected stationery contains background image, you can turn this option off to remove the background image from the new created email. However, this option will not clear the background color from the new email.
So far, the default theme or stationery has been specified. And you can click the OK buttons to finish the settings. If you want to give up the font of regular text in the default email theme and set it individually, please go ahead:
5. In the Signatures and Stationery dialog, select Always use my fonts from the Font drop-down list, and click the Font button in the New mail messages section.
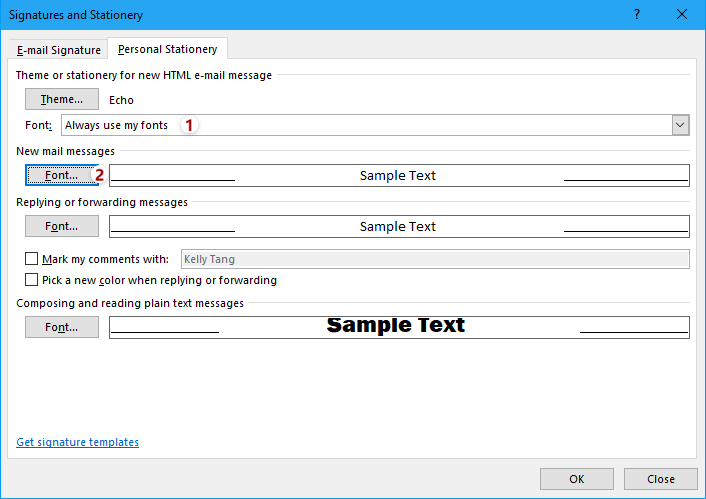
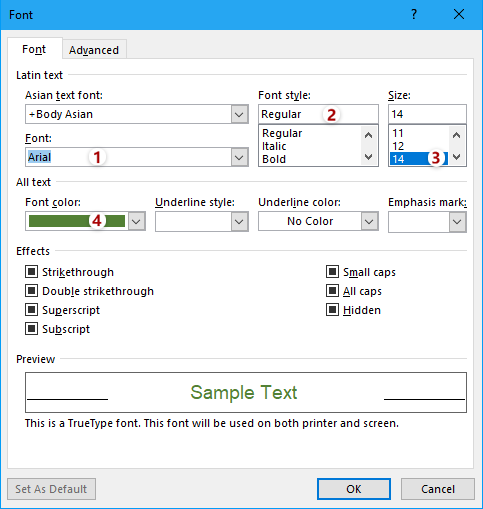
6. In the Font dialog, please set the font of regular text as you need, such as font, font style, font size, font color, font effects, etc. And then click the OK button to save the settings.
Tips: If necessary, you can also set the font of regular text in the replying or forwarding messages: click the Font button in the Replying or forwarding messages section of the Signature and Stationery dialog, and then specify the font of regular text in the popping out Font dialog.
7. Click OK buttons successively to close the Signature and Stationery dialog and Outlook Options dialog.
From now on, when creating new email in Outlook, the new email will apply the default email theme automatically.
Apply default email theme or stationery to all replies or forwards
You may notice that the email themes or stationeries can only be applied to new emails in Outlook. However, some Outlook users also need to apply emails themes to replying or forwarding emails, replace or remove stationeries in replies or forwards. You can change the reply or forward options to get it done.
1. Click File > Options to enable the Outlook Options dialog.
2. In the Outlook Options dialog, please do as follows:
(1) Enable Mail in the left bar;
(2) In the Replies and forwards section, check the Open replies and forwards in a new window option;
(3) Select Do not include original message or Attach original message from the When replying to a message drop-down list.
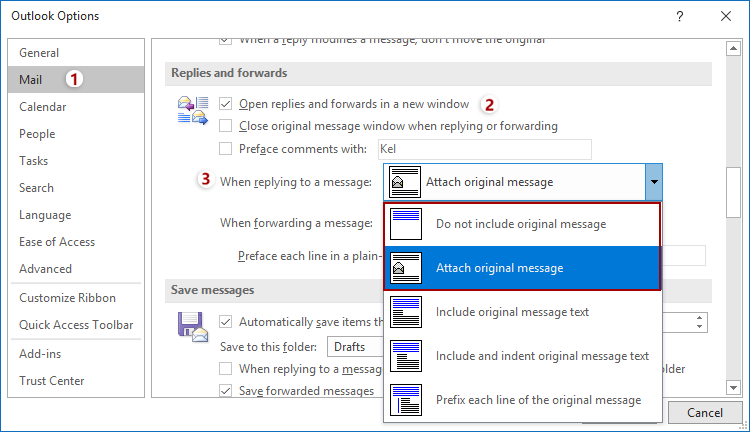
Tips: If you need to apply the default email theme in forwarding emails, please select Attach original message from the When forwarding a message drop-down list.
3. Click the OK button to save settings.
4. Enable the default email theme or stationery. (Click to view guides…)
From now on, when replying or forwarding an email in Outlook, it will automatically apply the default email theme to the replying or forwarding email automatically.
If original email contains an email stationery, the email stationery will be replaced with your default one in the replies or forwards automatically.
Create a new email theme or stationery
Sometimes, the preset email themes or stationeries may not meet our needs, and we need to create a new custom email theme or stationery. We can do as follows:
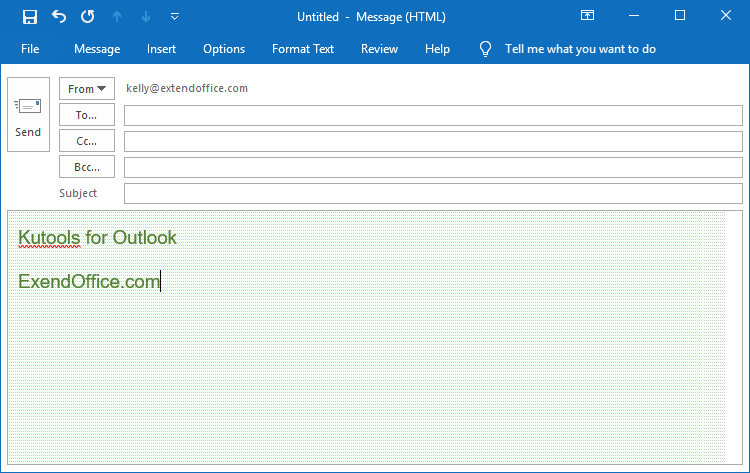
1. In the Mail view, click Home > New Email to create a new email in Outlook.
2. Add a background color or background image in the new email.
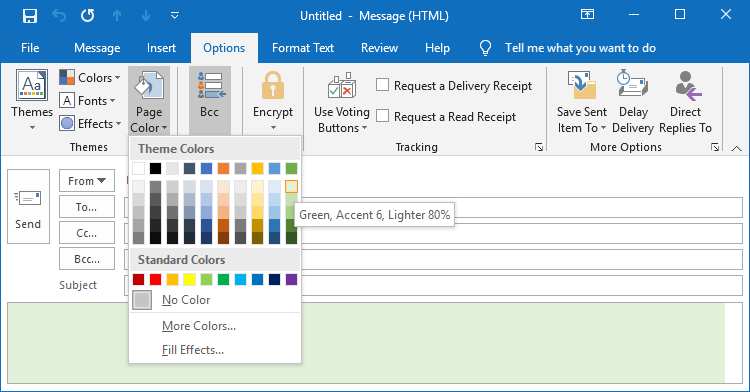
2.1 Add a background color
In the new email message window, enable the Options tab, click Page Color, and then pick up a background color as you need.
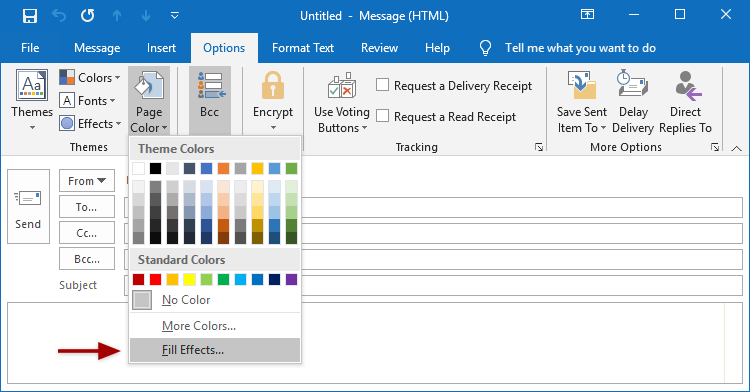
2.2 Add a background image
If you need to add a background image in the new custom stationery, please do as follows:
2.2.1 In the new email message window, click Options > Page Color > Fill Effects.
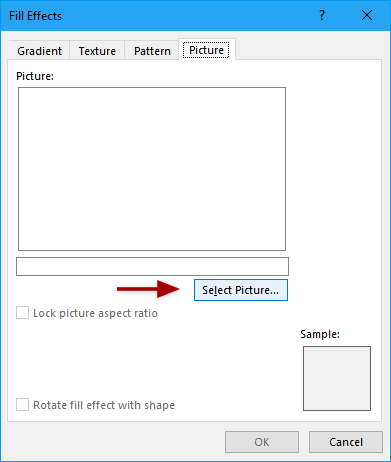
2.2.2 In the Fill Effects dialog, enable the Picture tab, and click the Select Picture button.
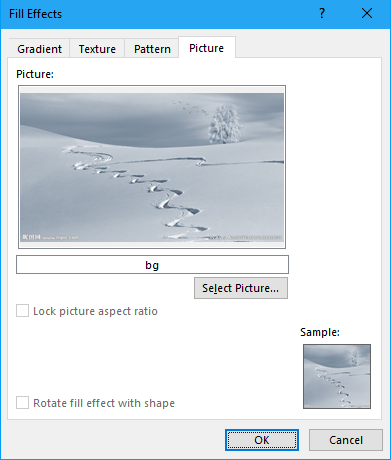
2.2.3 In the Select Picture dialog, open the folder containing the background image, select the background image, and click the Insert button.

2.2.4 Now it goes back to the Fill Effects dialog, click the OK button to save the settings.
Now the background color or image is added to the custom stationery.
3. Set the font of regular text.
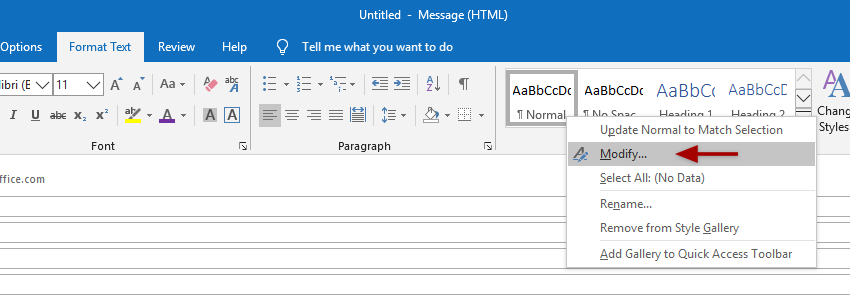
3.1 Enable the Format Text tab in the new message window, right click Normal in the Style gallery, and select Modify from the right-clicking menu.
3.2 In the Modify Style dialog, set the font of regular text as you need, such as font, font size, font color, alignment, line spacing, etc.
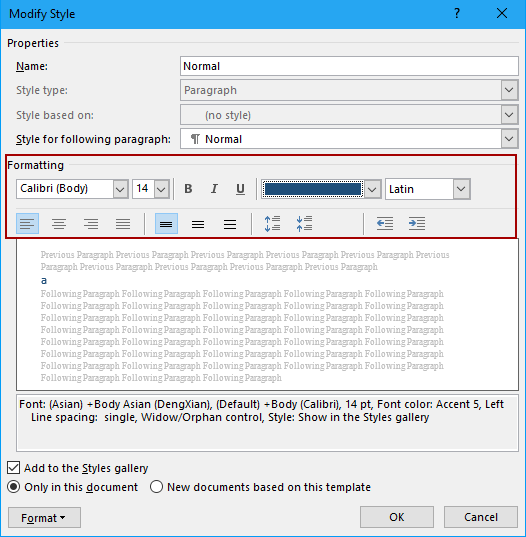
Tips: If necessary, you can also customize other formatting by clicking the Format button at the bottom-left corner.
3.3 After finishing settings, click the OK button to save them.
4. Set the styles of headings.
You can follow the similar operation ofStep 3to set the style of Heading 1, Heading 2, etc. as you need.
5. Save the custom stationery.
5.1 In the new message window, click File > Save As.
5.2 Now the Save As dialog opens, please paste below path in the address box, and press Enter key.
%appdata%\microsoft\stationery
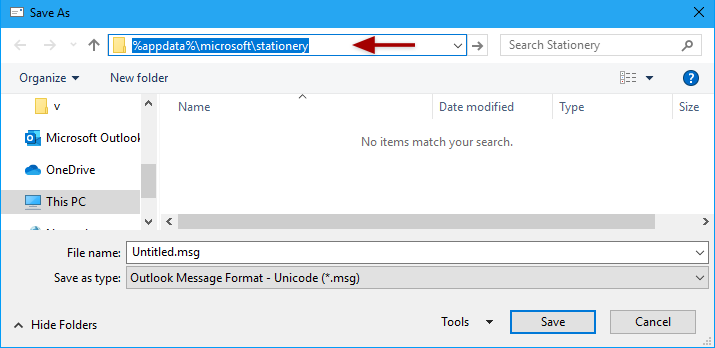
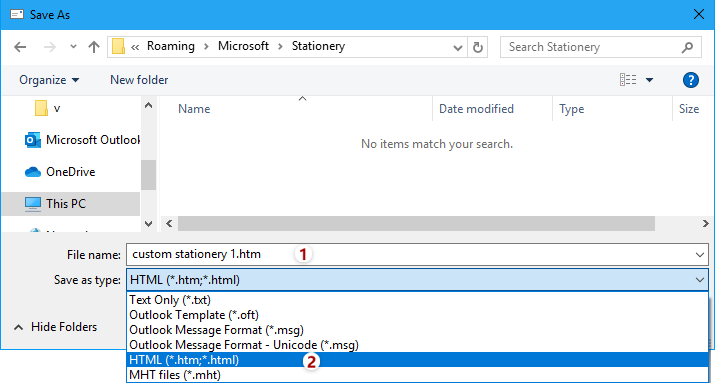
5.3 Go ahead to name the new stationery, specify the file type as HTML (*.htm;*.html), and click the Save button.
So far, a new custom email stationery has been created and added to the theme gallery.
Import email themes or stationeries (HTML files) to Outlook
We might get some Outlook email themes or stationeries (HTML files) from outside resources, such as downloaded from some websites, bought from Microsoft store, copied from older computers, shared by others, etc. After getting these email stationery files, we can import them to the email stationery gallery in Outlook.
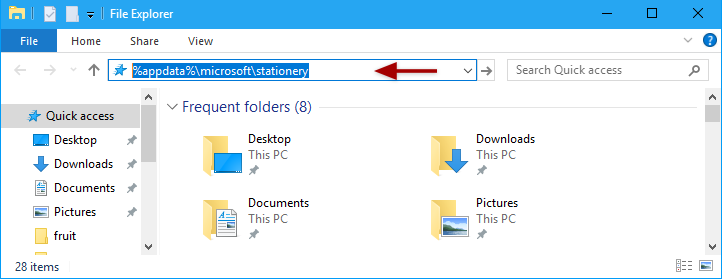
1. Open the folder containing the Outlook stationery files: open a folder, paste below path in the address box, and press Enter key.
%appdata%\microsoft\stationery
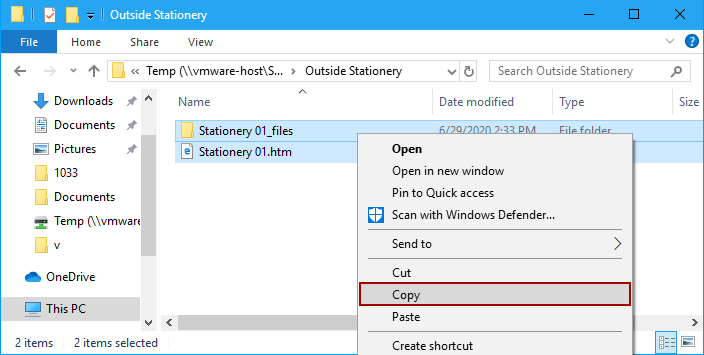
2. Open the folder containing the outside stationery files you will import, select the stationery file and related folder, right click, and select Copy from the context menu.
3. Go to the folder containing the Outlook stationery files, press Ctrl + V keys to paste the outside stationery into it.
Tips: If the imported stationery contains pictures, the pictures will not display when the stationery is previewed in the Theme or Stationery dialog. However, these pictures will show regularly when you create new emails with this stationery.
Turn off the default email theme or stationery
If you want to prevent the default email theme or stationery from being applied to new emails, replies, or forwards automatically, you can turn off the default email theme or stationery easily.
1. Click File > Options to enable the Outlook Options dialog.
2. In the Outlook Options dialog, enable Mail in the left bar, and then click the Stationery and Fonts button in the Compose messages section.
3. In the Signatures and Stationery dialog, on the Personal Stationery tab, click the Theme button.
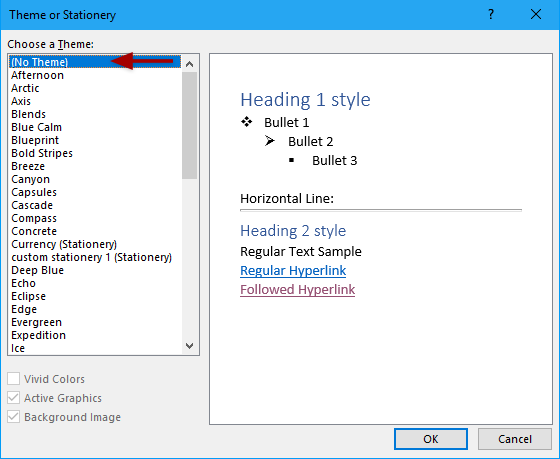
4. In the Theme or Stationery dialog, click to select (No Theme) in the Choose a Theme list box, and click the OK button.
5. Click OK buttons successively to close the Signatures and Stationery dialog and Outlook Options dialog.
From now on, the email theme or stationery will not be applied automatically to new emails or replying/forwarding emails.
Notes
- The email themes or stationeries only works with new HTML emails in Outlook.
- If a new email has been created, we cannot change its theme or stationery anymore.
- If you have set to reply or forward with original message text, it will inherit the theme of original email when replying or forwarding it.
More articles ...
Best Office Productivity Tools
Experience the all-new Kutools for Outlook with 100+ incredible features! Click to download now!
📧 Email Automation: Auto Reply (Available for POP and IMAP) / Schedule Send Emails / Auto CC/BCC by Rules When Sending Email / Auto Forward (Advanced Rules) / Auto Add Greeting / Automatically Split Multi-Recipient Emails into Individual Messages ...
📨 Email Management: Recall Emails / Block Scam Emails by Subjects and Others / Delete Duplicate Emails / Advanced Search / Consolidate Folders ...
📁 Attachments Pro: Batch Save / Batch Detach / Batch Compress / Auto Save / Auto Detach / Auto Compress ...
🌟 Interface Magic: 😊More Pretty and Cool Emojis / Remind you when important emails come / Minimize Outlook Instead of Closing ...
👍 One-click Wonders: Reply All with Attachments / Anti-Phishing Emails / 🕘Show Sender's Time Zone ...
👩🏼🤝👩🏻 Contacts & Calendar: Batch Add Contacts From Selected Emails / Split a Contact Group to Individual Groups / Remove Birthday Reminders ...
Use Kutools in your preferred language – supports English, Spanish, German, French, Chinese, and 40+ others!


🚀 One-Click Download — Get All Office Add-ins
Strongly Recommended: Kutools for Office (5-in-1)
One click to download five installers at once — Kutools for Excel, Outlook, Word, PowerPoint and Office Tab Pro. Click to download now!
- ✅ One-click convenience: Download all five setup packages in a single action.
- 🚀 Ready for any Office task: Install the add-ins you need, when you need them.
- 🧰 Included: Kutools for Excel / Kutools for Outlook / Kutools for Word / Office Tab Pro / Kutools for PowerPoint