How to create and print envelopes from the mailing list in Word?
If you need to send letters to multiple people, writing names and addresses by hand on each envelope can be time-consuming, especially if you're working with a long mailing list. Fortunately, Microsoft Word provides a built-in mail merge feature that lets you automatically create and print envelopes using data from a list, such as an Excel spreadsheet. This tutorial will walk you through the process step by step, from setting the envelope style to printing envelopes for each recipient on your list.
Create and print envelopes from mailing list in Word
- Step 1: Set envelope style
- Step 2: Import the list into Word
- Step 3: Add recipient information to the envelope
- Step 4: Print the envelopes
Recommended Productivity Tools for Word
Kutools for Word: Integrating AI 🤖, over 100 advanced features save 50% of your document handling time.Free Download
Office Tab: Introduces the browser-like tabs to Word (and other Office tools), simplifying multi-document navigation.Free Download
Create and print envelopes from mailing list in Word
Step 1: Set envelope style
- Open a Word document and go to "Mailings" > "Envelopes".

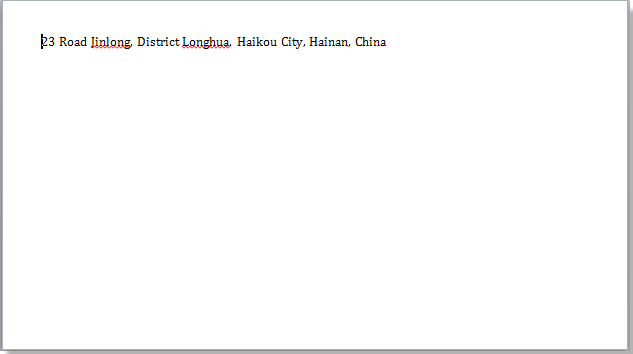
- In the Envelopes and Labels dialog, type the delivery address and return address, then click "Options".

- In the "Envelope Options" tab of the pop-up dialog, select the envelope size and positioning options.

- Switch to the "Printing Options" tab and choose the correct feed method for your printer.

- Click "OK", then click "Print".
- When prompted to save the return address, click "Yes".

- Verify that the envelope printed correctly. If not, adjust the feed method settings and try again.


Step 2: Import the list into Word
- Click "Mailings" > "Start Mail Merge" > "Envelopes".

- In the Envelope Options dialog, click "OK". A new envelope layout appears with your default return address.
- Go to "Mailings" > "Select Recipients" > "Use Existing List".

- Select the Excel file that contains your mailing list and click "Open", then choose the worksheet from the pop-up "Select Table" dialog.


- Click "OK", then click "Mailings" > "Edit Recipient List" to confirm the imported list.

- Select the recipients you want to include, then click "OK".


Step 3: Add recipient information to the envelope
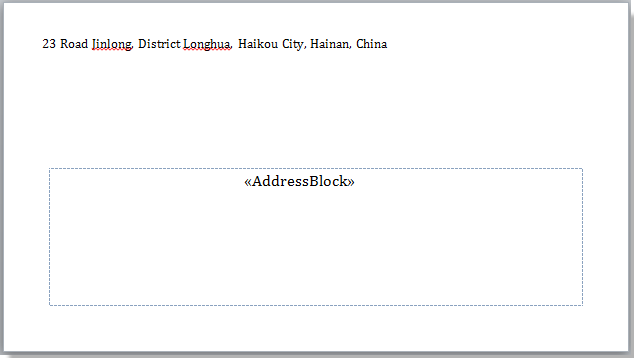
- Place your cursor in the center text box of the envelope where you want the recipient address to appear.

- Click "Mailings" > "Address Block" to open the Insert Address Block dialog.

- Select the name format you want under "Insert recipient’s name in this format", and preview the result.

- If needed, click "Match Fields" to verify that the fields in your mailing list correctly match the required fields for the address block. If you don’t want a field to appear on the envelope, select "(not matched)" from the drop-down list for that field.

- Click "OK" to insert the address block into the envelope.


Step 4: Print the envelopes
- Click "Mailings" > "Preview Results". Use the navigation buttons on the ribbon to check how each envelope will appear.


- Click "Finish & Merge" > "Print Documents".

- In the "Merge to Printer" dialog, select the records you want to print, then click "OK".


The envelopes are now printed and ready for mailing.
Best Office Productivity Tools
Kutools for Word - Elevate Your Word Experience with Over 100 Remarkable Features!
🤖 Kutools AI Features: AI Assistant / Real-Time Assistant / Super Polish (Preserve Format) / Super Translate (Preserve Format) / AI Redaction / AI Proofread...
📘 Document Mastery: Split Pages / Merge Documents / Export Selection in Various Formats (PDF/TXT/DOC/HTML...) / Batch Convert to PDF...
✏ Contents Editing: Batch Find and Replace across Multiple Files / Resize All Pictures / Transpose Table Rows and Columns / Convert Table to Text...
🧹 Effortless Clean: Sweap away Extra Spaces / Section Breaks / Text Boxes / Hyperlinks / For more removing tools, head to the Remove group...
➕ Creative Inserts: Insert Thousand Separators / Check Boxes / Radio Buttons / QR Code / Barcode / Multiple Pictures / Discover more in the Insert group...
🔍 Precision Selections: Pinpoint Specific Pages / Tables / Shapes / Heading Paragraphs / Enhance navigation with more Select features...
⭐ Star Enhancements: Navigate to Any Location / Auto-Insert Repetitive Text / Toggle Between Document Windows / 11 Conversion Tools...
🌍 Supports 40+ Languages: Use Kutools in your preferred language – supports English, Spanish, German, French, Chinese, and 40+ others!

Office Tab - Brings Tabbed interface to Office, Make Your Work Much Easier
- Enable tabbed editing and reading in Word, Excel, PowerPoint, Publisher, Access, Visio and Project.
- Open and create multiple documents in new tabs of the same window, rather than in new windows.
- Increases your productivity by 50%, and reduces hundreds of mouse clicks for you every day!
✨ Kutools for Office – One Installation, Five Powerful Tools!
Includes Office Tab Pro · Kutools for Excel · Kutools for Outlook · Kutools for Word · Kutools for PowerPoint
📦 Get all 5 tools in one suite | 🔗 Seamless integration with Microsoft Office | ⚡ Save time and boost productivity instantly
Best Office Productivity Tools
Kutools for Word - 100+ Tools for Word
- 🤖 Kutools AI Features: AI Assistant / Real-Time Assistant / Super Polish / Super Translate / AI Redaction / AI Proofread
- 📘 Document Mastery: Split Pages / Merge Documents / Batch Convert to PDF
- ✏ Contents Editing: Batch Find and Replace / Resize All Pictures
- 🧹 Effortless Clean: Remove Extra Spaces / Remove Section Breaks
- ➕ Creative Inserts: Insert Thousand Separators / Insert Check Boxes / Create QR Codes
- 🌍 Supports 40+ Languages: Kutools speaks your language – 40+ languages supported!